
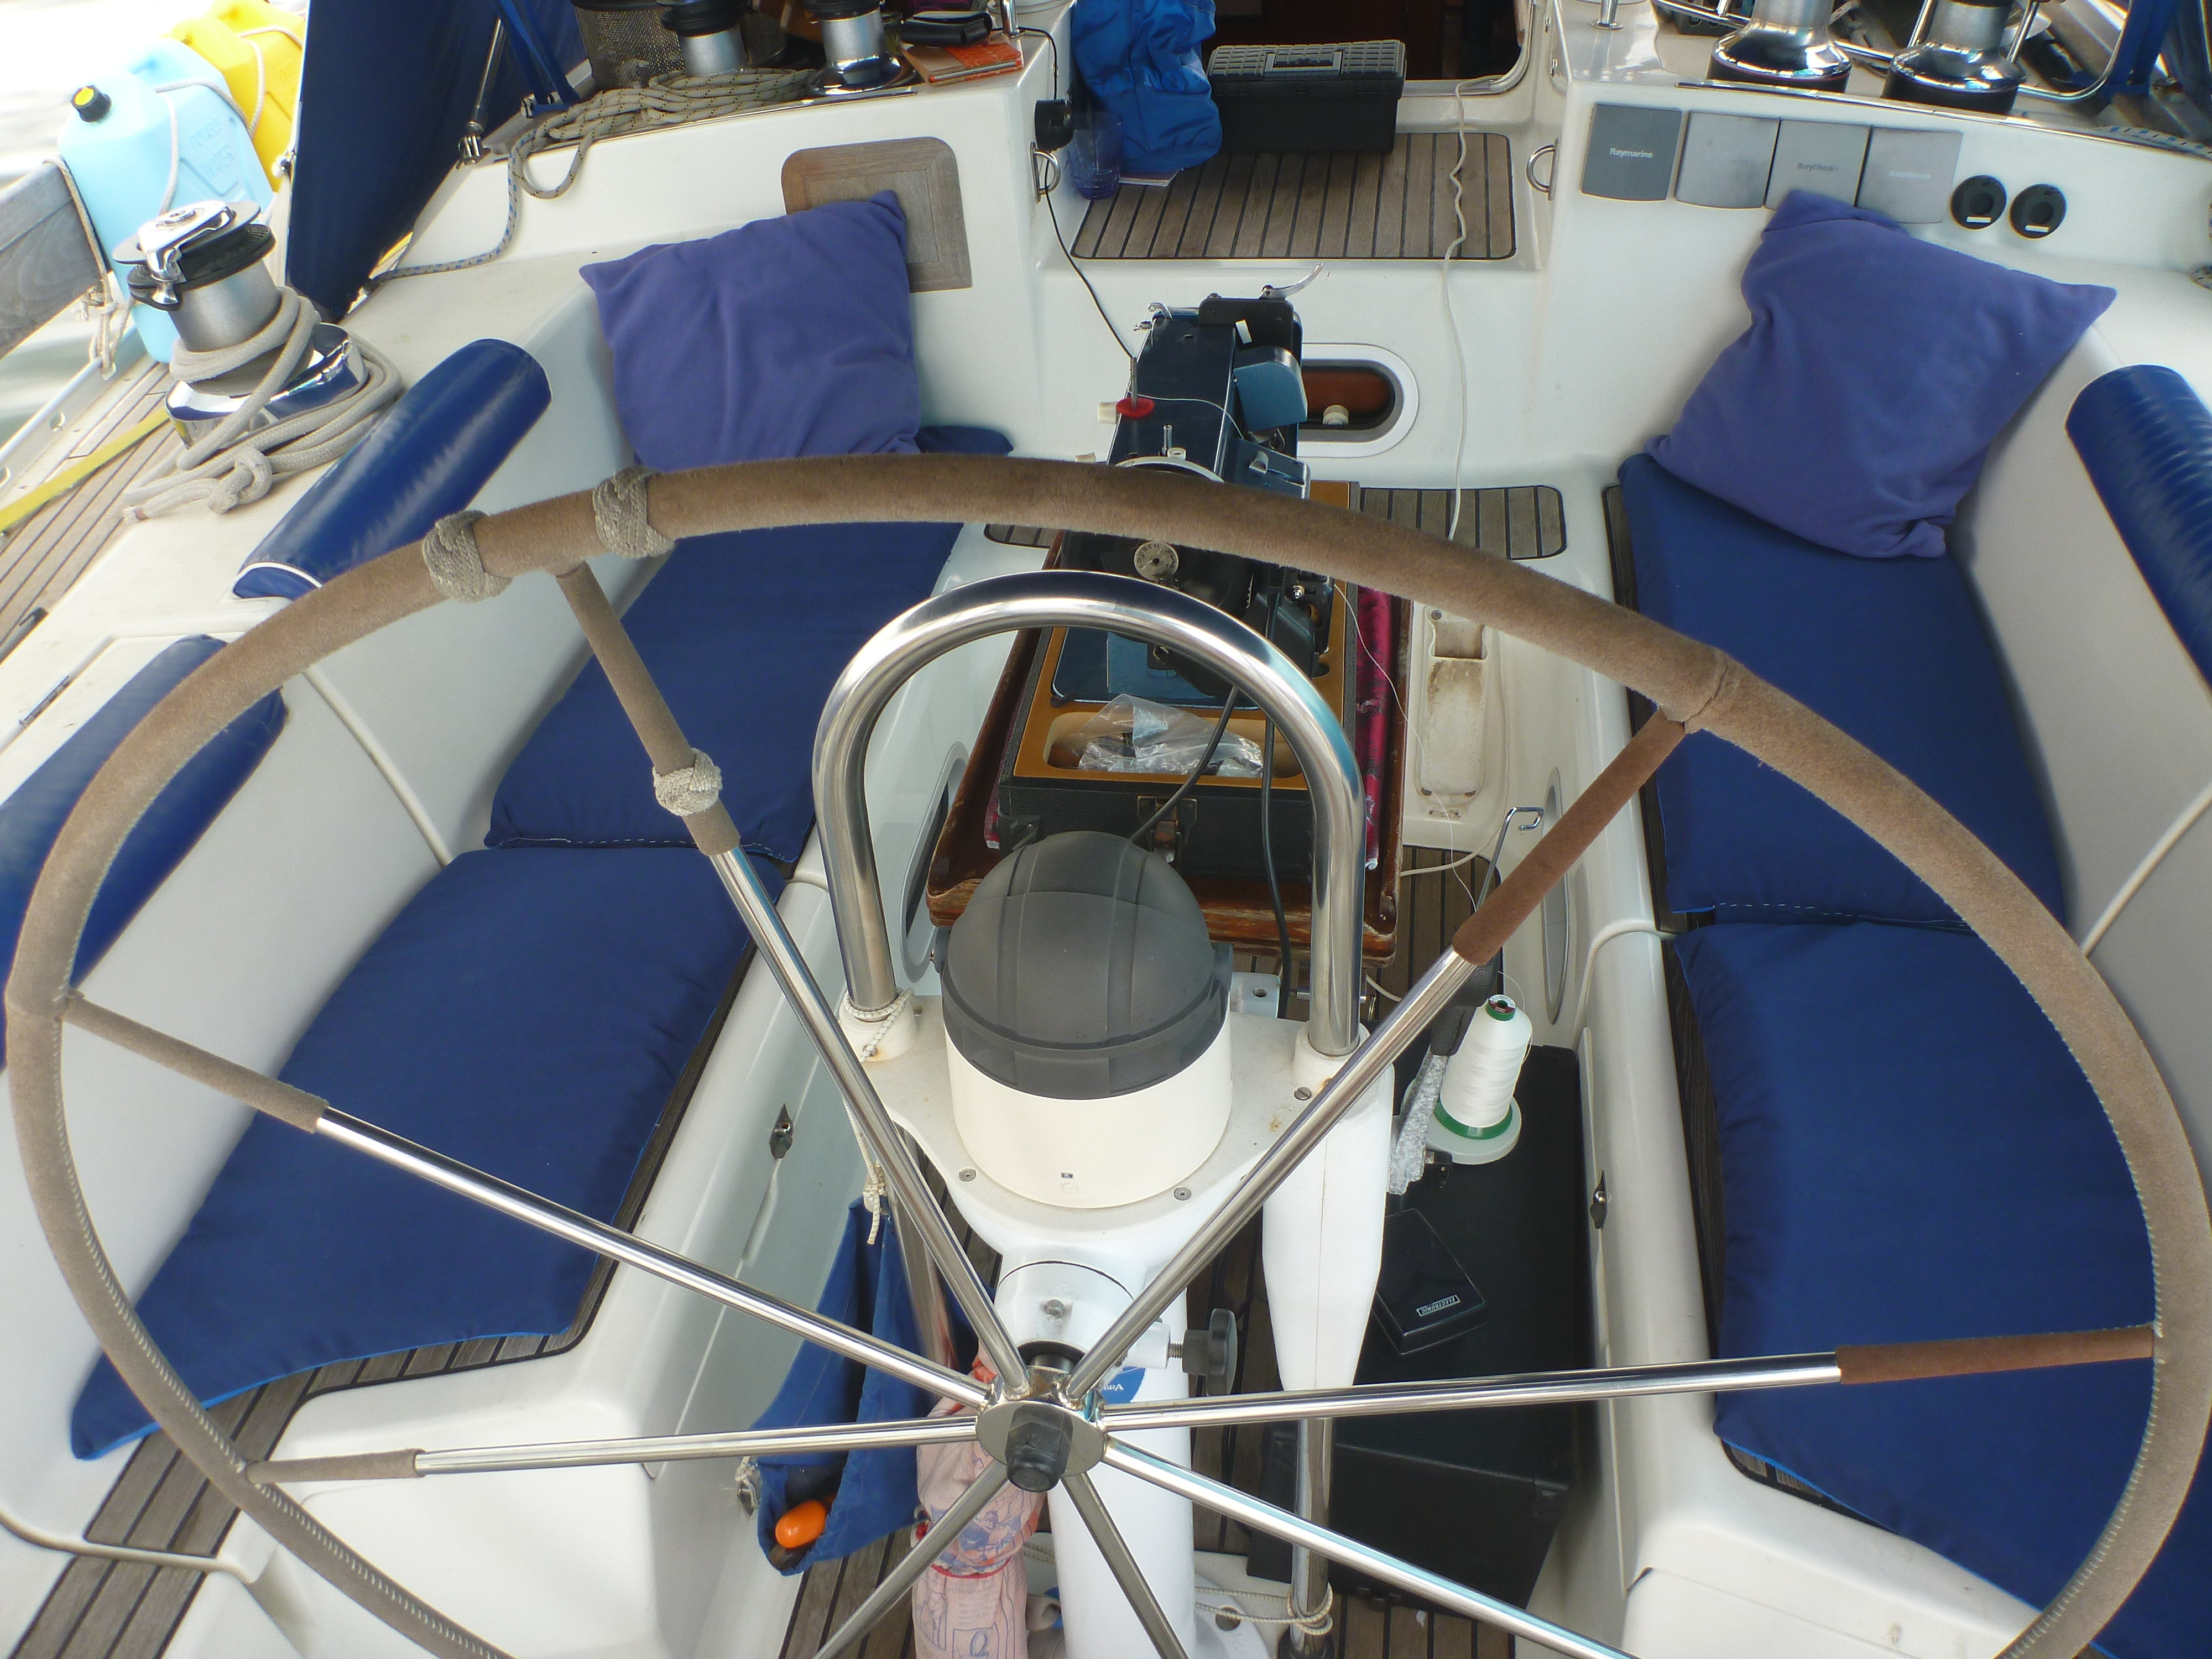
…within the confines of a cockpit

For many years Temptress has been fitted out with those blue square (or two squares) cushions you can buy in any UK chandlery, they make life just that little bit more comfy than sitting on hard teak decks. Once they were smart royal blue with white cord and buttoning. They float so could be used as a life saving device though we’ve never tested them. However these cushions are robust, standing up to any amount of dunking by waves, sitting upon by wet swimmers and having suffered being repositories for spilt food, drinks and even been thrown up over; the only maintenance required is a freshwater hose down from time to time and a thorough drying in the sun. However the current set have suffered enough and now faded to a grubby grey and the kapok stuffing matted down to almost rock hard, the covers decided too much tropical sun had been had. We spent the entire passage from Martinique in a veritable snow storm of kapok and my repair efforts were in vain as new splits in the rotten fabric appeared almost as soon as some stitching had been done. Time for some replacements.
At first reluctant to try to make our own in the confines of the cockpit I searched every chandlery, outdoor or DIY store we visited in the Caribbean and beyond. No luck. The skipper suggested our camping mats might work but they proved a good fifteen or twenty centimetres too wide and their length meant they tangled with the wheel and crucially they aren’t that comfy when sat on. Possibly ok for lounging at anchor but no good when Temptress is sailing across oceans for days on end. So I reviewed our supplies and ideas in my two canvas work books (The Complete Canvas Workers Guide by Jim Grant and The Big Book of Boat Canvas by Karen S Lipe) as well as the Facebook Sewing on Boats group. Then I spent some time thinking through the construction and potential materials.
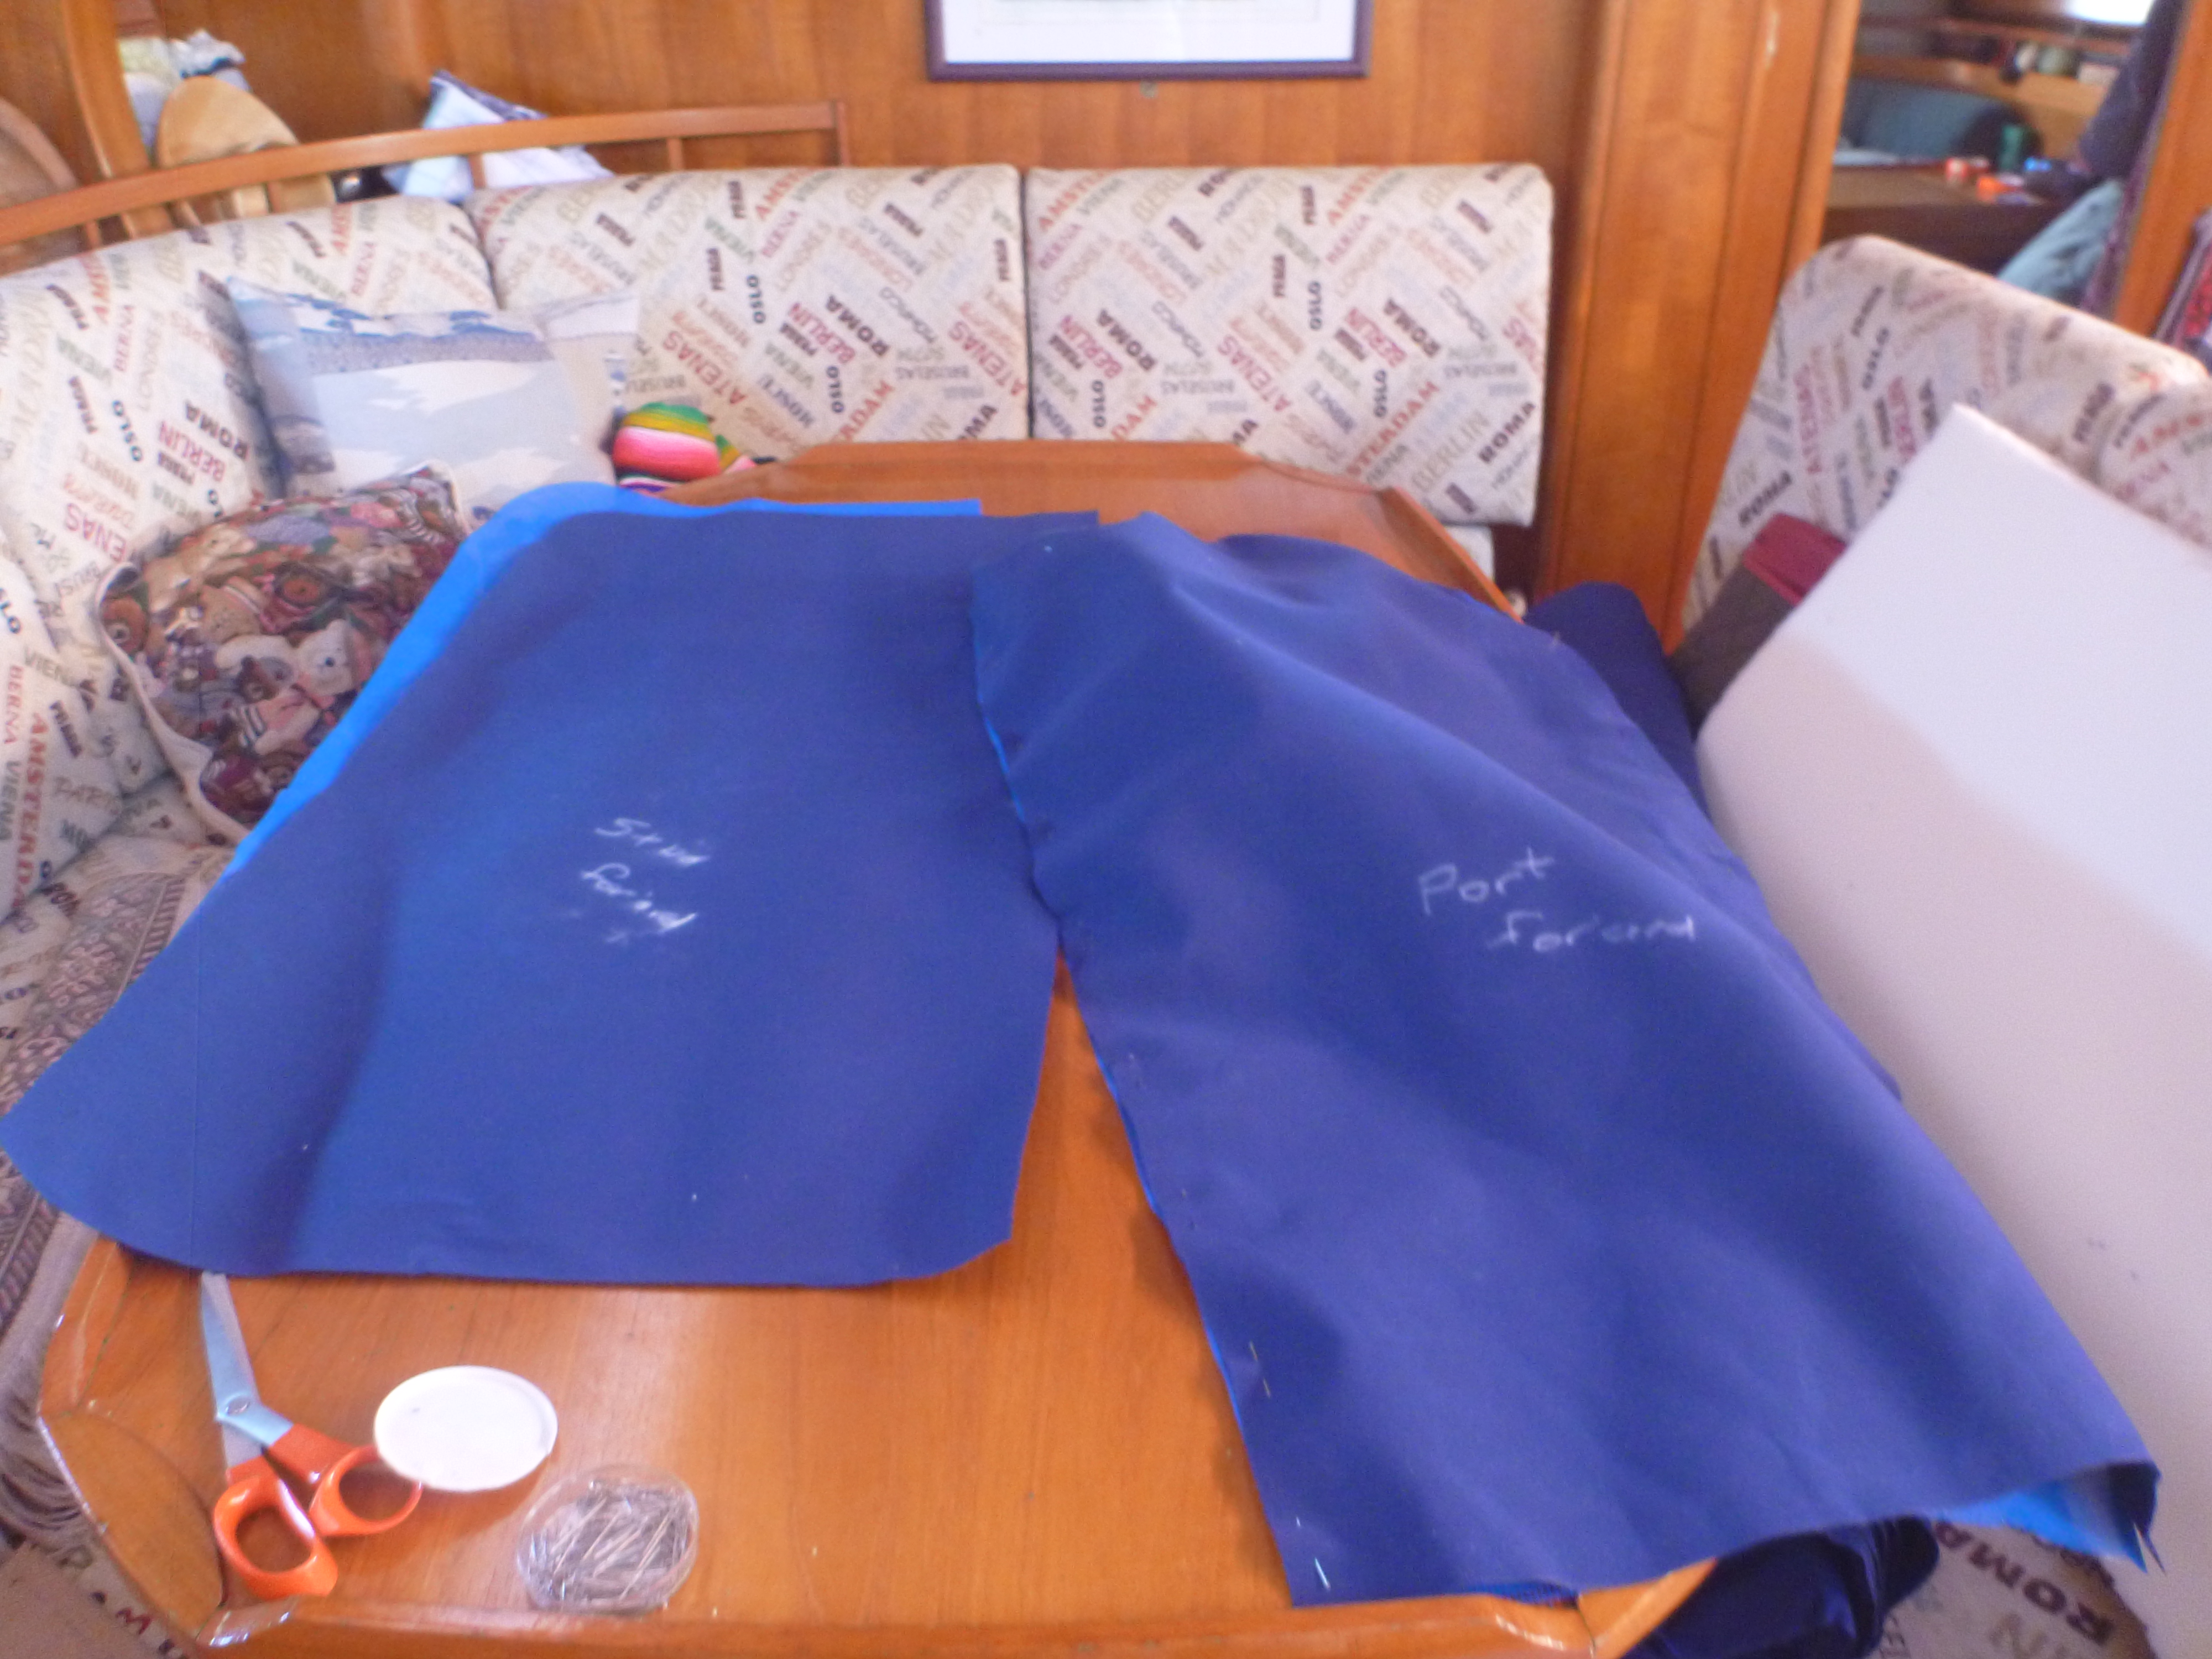
 Whilst in Trinidad I had purchased a large amount of cheapish, dark blue canvas in the amazing Jimmy Aboud’s fabric emporium for just such projects as this. (Possibly also a dinghy cover; a project I’m still mulling over as that particular article has some life in it yet.) What would also be needed was a quantity of foam, something to make templates with and if the foam was not closed cell, mesh for the underside of the cushions so water could drain away. As per the ‘Cruisers Handbook to Panama’ (a very useful “yellow pages” aimed at yachties looking for supplies of gas, food, chandlery etc in the city) upstairs in the fabric shop Pico Pico on “Walking Street” (the pedestrianised area and main shopping area) I found 2inch foam and bright blue mesh, as well as lots of other fabrics that I resisted buying! Everything here is imperial so we had to do some quick calculations from my metric estimates of lengths required but with the help of Kevin’s basic Spanish and the shop managers similar English plus a knowledgeable assistant’s willing help we got through the purchase. One piece of foam some three yards by four, a length of phifertex-like plasticised mesh fabric and some piping cord.
Getting the foam back was a tale in itself – the roll was only slightly shorter than Erica and very bulky. We left it in the shop to pick up after lunch and headed off to do the rest of our weekend shopping. However Erica’s phone rang whilst we were seated in a café, it was Alisdair from Star Charger; in the strong northerlies Temptress had dragged her anchor, fortunately spotted by Eric off Amarula. So Alisdair and Neil together with Eric rescued and re-anchored her. Kevin rapidly finished his lunch paid the bill and departed leaving Erica and I to complete our errands. We squashed into a taxi – Erica in the front with our few bags of veggies and I somehow squeezed in the back with a roll of foam that entirely filled the space so threatened to expand and suffocate me at any minute. The taxi driver must have thought we were crazy.
A few days after Erica left I sellotaped together a couple of sheets of the free tourist newspaper we’d picked up and made a start on templating the seats. The good news was the seats either side of the cockpit are symmetrical, mirror images of each other. The bad news was the ink on the paper left mucky marks everywhere. A week or so later I discovered plain brown paper sold by the yard in one of the supermarkets and transferred the curves and lines from my rough newspaper shapes onto this. On the basis of measure twice and cut once I also re-measured the widths and lengths then drew out the templates on the plain paper more accurately – two for each shape, a larger one for the top material the other for the foam and mesh, each including a half inch seam allowance (how quickly I slipped from metric to imperial when the seat widths and lengths fitted closer to round inches than centimetres!).


The foam was easily cut as per the advice in my books with the breadknife and a light sawing action but wrestling with the entire piece initially in the confines of the cockpit was fun – not! I was glad the wind had gone down a bit as I drew round the template with a marker pen. Soon I had four pieces of foam cut out and the remainder tied back into a couple of manageable rolls. Covers meant the foam didn’t have to be too neat just reasonably accurate. To ensure I was on the right track I pinned one canvas top to its base along the seam allowances and attempted to squash in the slightly oversized foam piece. Surprisingly it looked pretty good after a five minute or so wrestling match. I even tested it for comfort and it was soft and squishy!
My design was simple – no box banding or piping (despite having bought the cord) as your average settee cushion has. The top is an inch larger all round to account for the thickness of the foam and the foam was cut to the base including the seam allowance to ensure the end result would be nice and plump. Two cushions per side joined by a hinge so the further aft ones can be flipped on top of their mate to give access to the locker lids below. The aft cushion has a very pointy bit due to the shape of that end of the seating and the forward one has a very curved rear corner. From research conducted on other boats separate cushions slide away under your feet as you sit on them and I “stole” this design from SDF in Singapore (thank-you Katy).
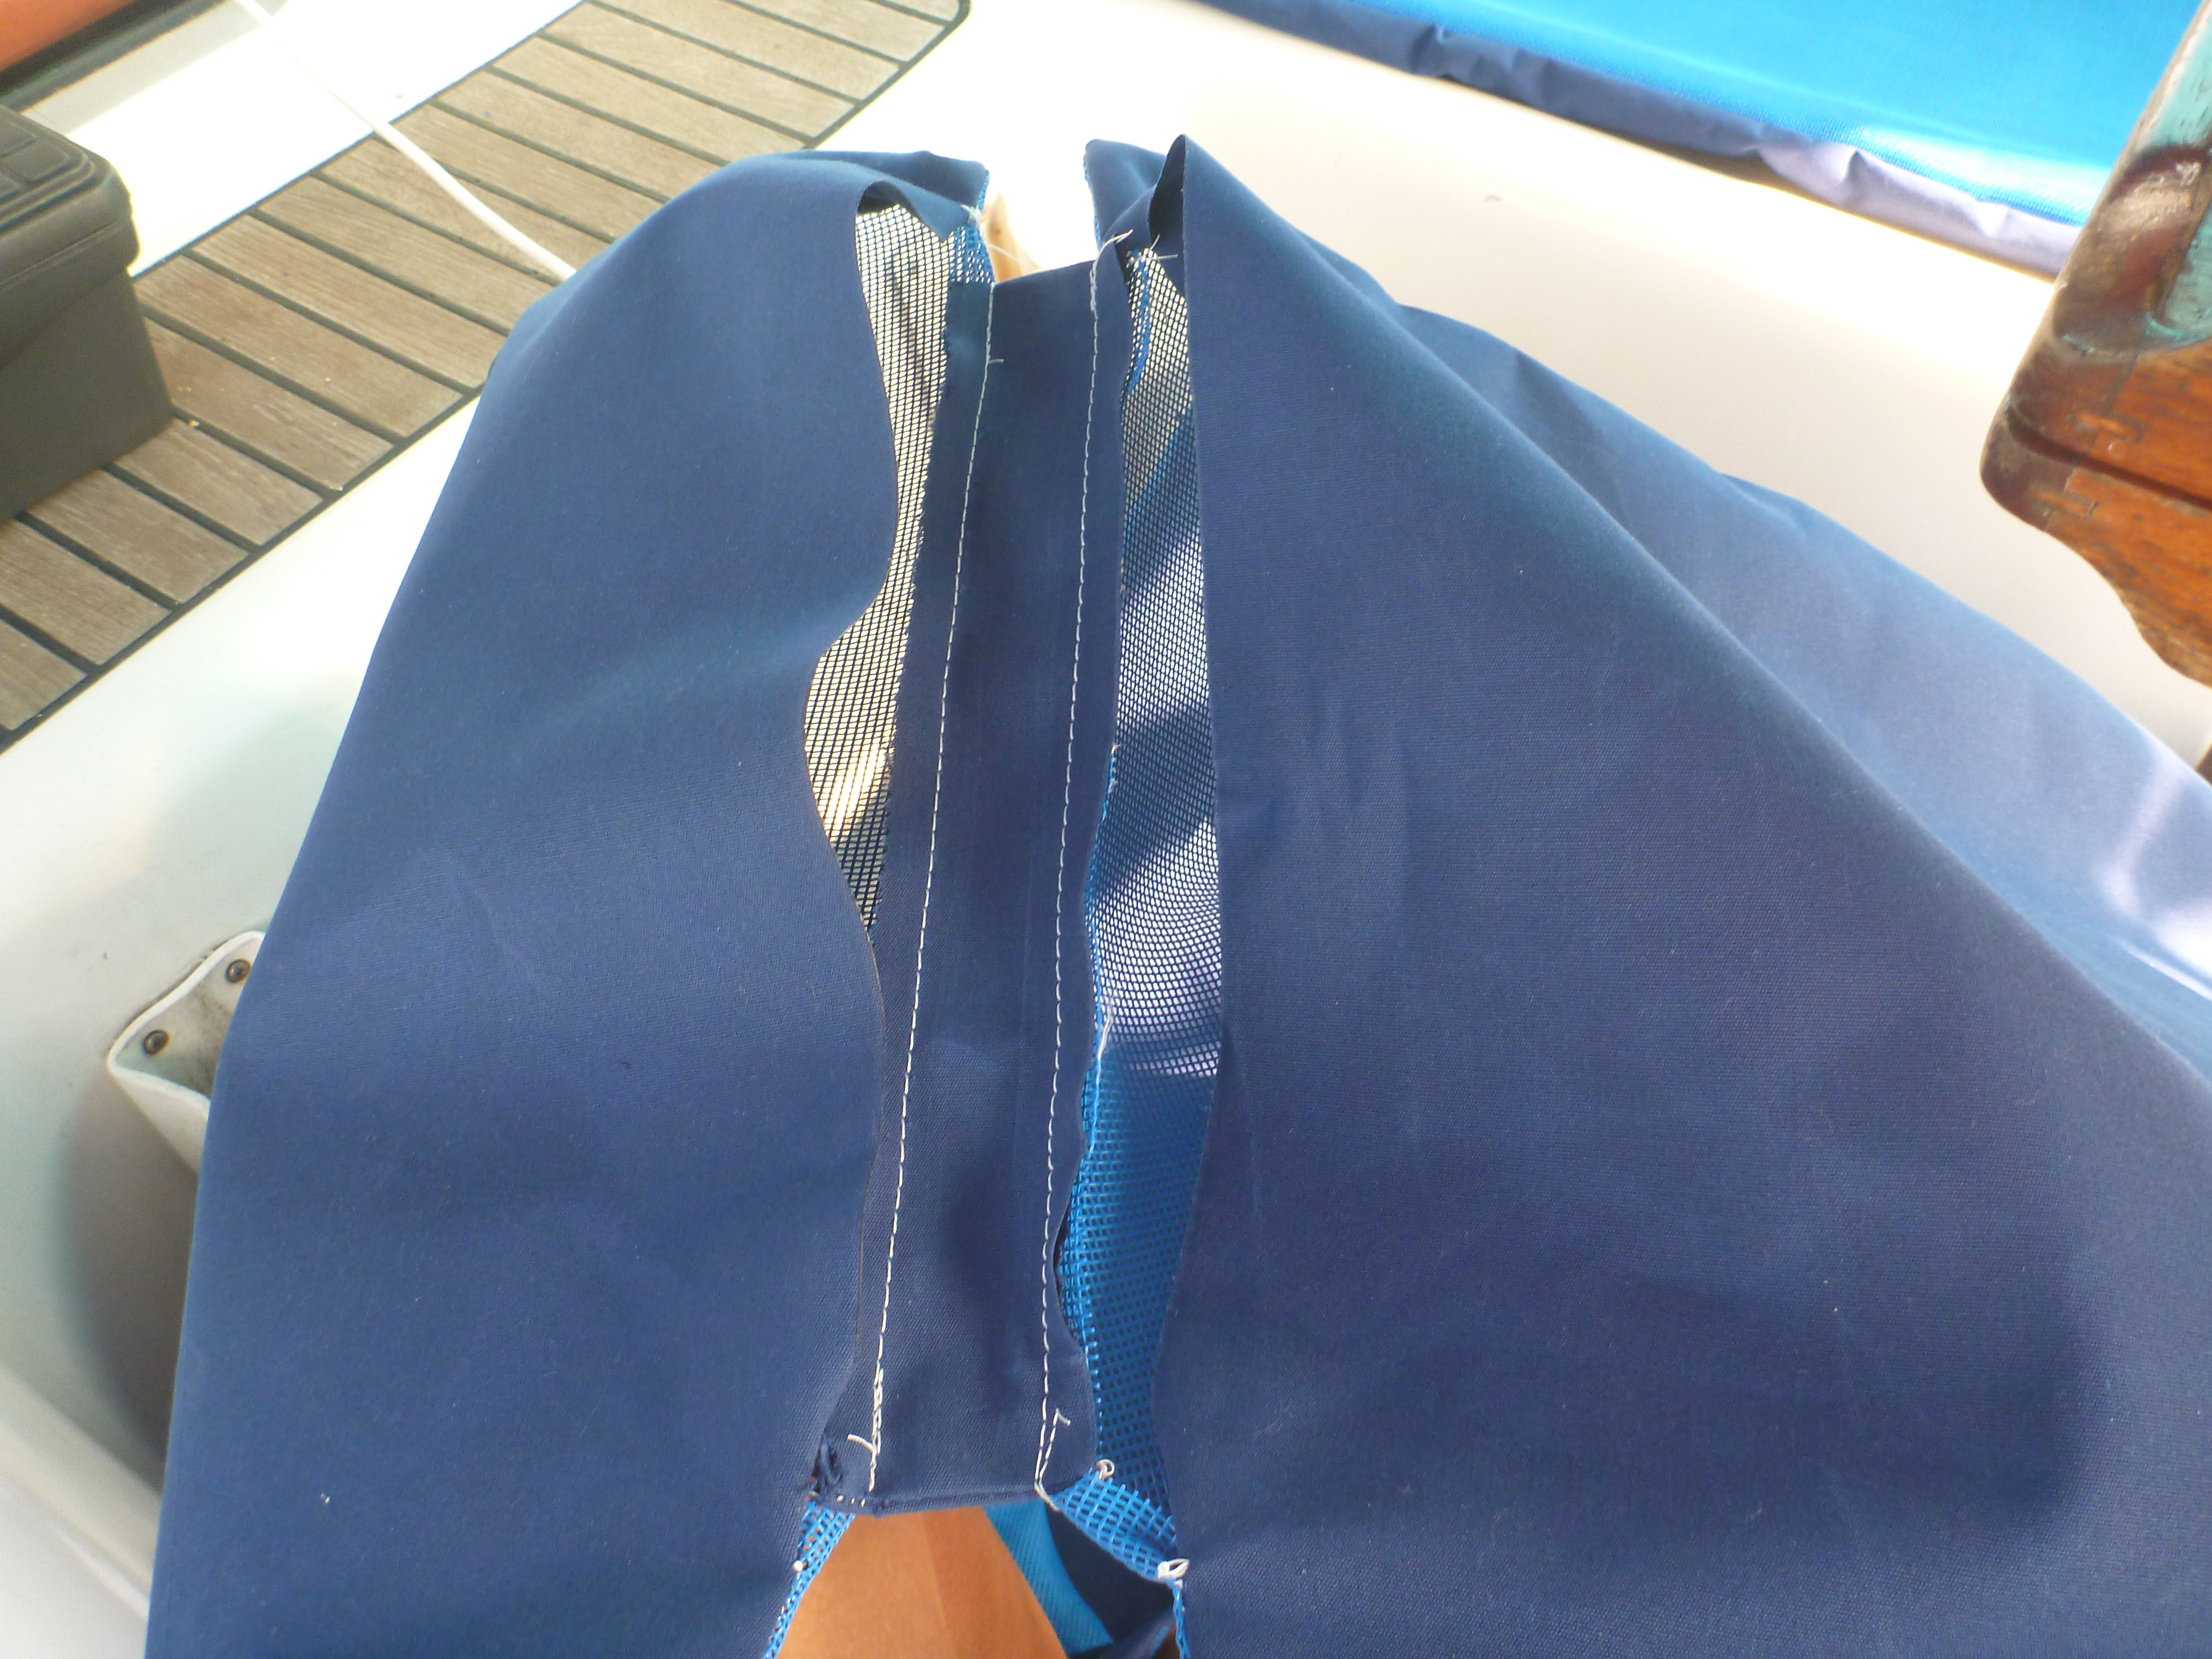
The top canvas being bigger than the base may give room for the foam thickness but the extra length needs easing in as you join the two sides together (cf easing a sleeve into a shoulder when dress or shirt making). I spent a quiet afternoon in the cockpit whilst Kevin & Kyle from Blowin’ Bubbles were fixing computer stuff pinning ends, halving the distance pinning the centres, then halving the distance and pinning again until each seam had tens of pins at right angles to it securing the top to the base, the sewing machine would make light puckers of the small amount of surplus fabric between each pin. My fingers were sore and occasionally bleeding from the pin pricks as I sought to bend the stiff fabric layers and push the pin in. The result was too thick to attempt basting as well so I simply machined over the pins, trimmed the corners and curves before turning the cover in the right way. Then I joined the covers into two pairs by attaching the base of one fore and one aft cushion either side of a narrow band of double thickness canvas that would make the hinge (this band is shorter than the width of the cushion and about an inch wide plus seam allowances).
The first challenge I encountered was closing the gap left to insert the foam. With just one foam piece in place it was easy to roll the empty cover up, push the foam back a bit inside it’s cover, turn under the seam allowance of the top, insert the opening under the machine foot and sew it shut. With the second piece of foam in place it was like trying to roll up a long balloon to stuff the first cushion under the machine arm – simply not possible. By trial and error I resorted to making the gap as small as possible before inserting the foam then hand stitching it. A 15 cm gap took almost as long to hand sew as everything else had so far and required a thimble and a pair of pliers to push and pull the needle and heavy gauge UV resistant thread through four thicknesses of canvas and two of mesh. One great tip from my canvas books was to wrap the foam in some thin plastic before trying to insert it – a black bin liner worked wonders though it was a bit of a tussle trying to retrieve the bin liner.
My second challenge almost made me give up. As I went to hand sew up the second of the aft cushions

having stuffed it I realised that it was another starboard one in shape and not a port one! Doh! Kevin made soothing sounds, I gritted my teeth and thought terrible thoughts (about myself, my sewing skills in general and the project in particular), heaved myself off the sofa where I’d slumped in despair then trundled back up the companionway to my cockpit sewing room. Out came the seam ripper and within twenty minutes I had reduced the errant cushion to its component parts. I very carefully checked several times which side should be sewn to which as I re-pinned and re-sewed it the correct way round.
Kevin expressed how impressed he is with my sewing skills and I admit I enjoy solving 3D engineering problems in fabric as well as trying to make things with limited resources. I must however acknowledge how my gratitude to my Mum, my grandmother and the indomitable Mrs Rickards of Balliol School who introduced me to dressmaking and the sewing machine whilst I was still at junior school. As I struggled with the felled seams and pockets of a pair of light blue cotton duck shorts all those years ago I never dreamt I would one day be applying those same skills to making cockpit cushions with curves and pointy corners at anchor in Panama.


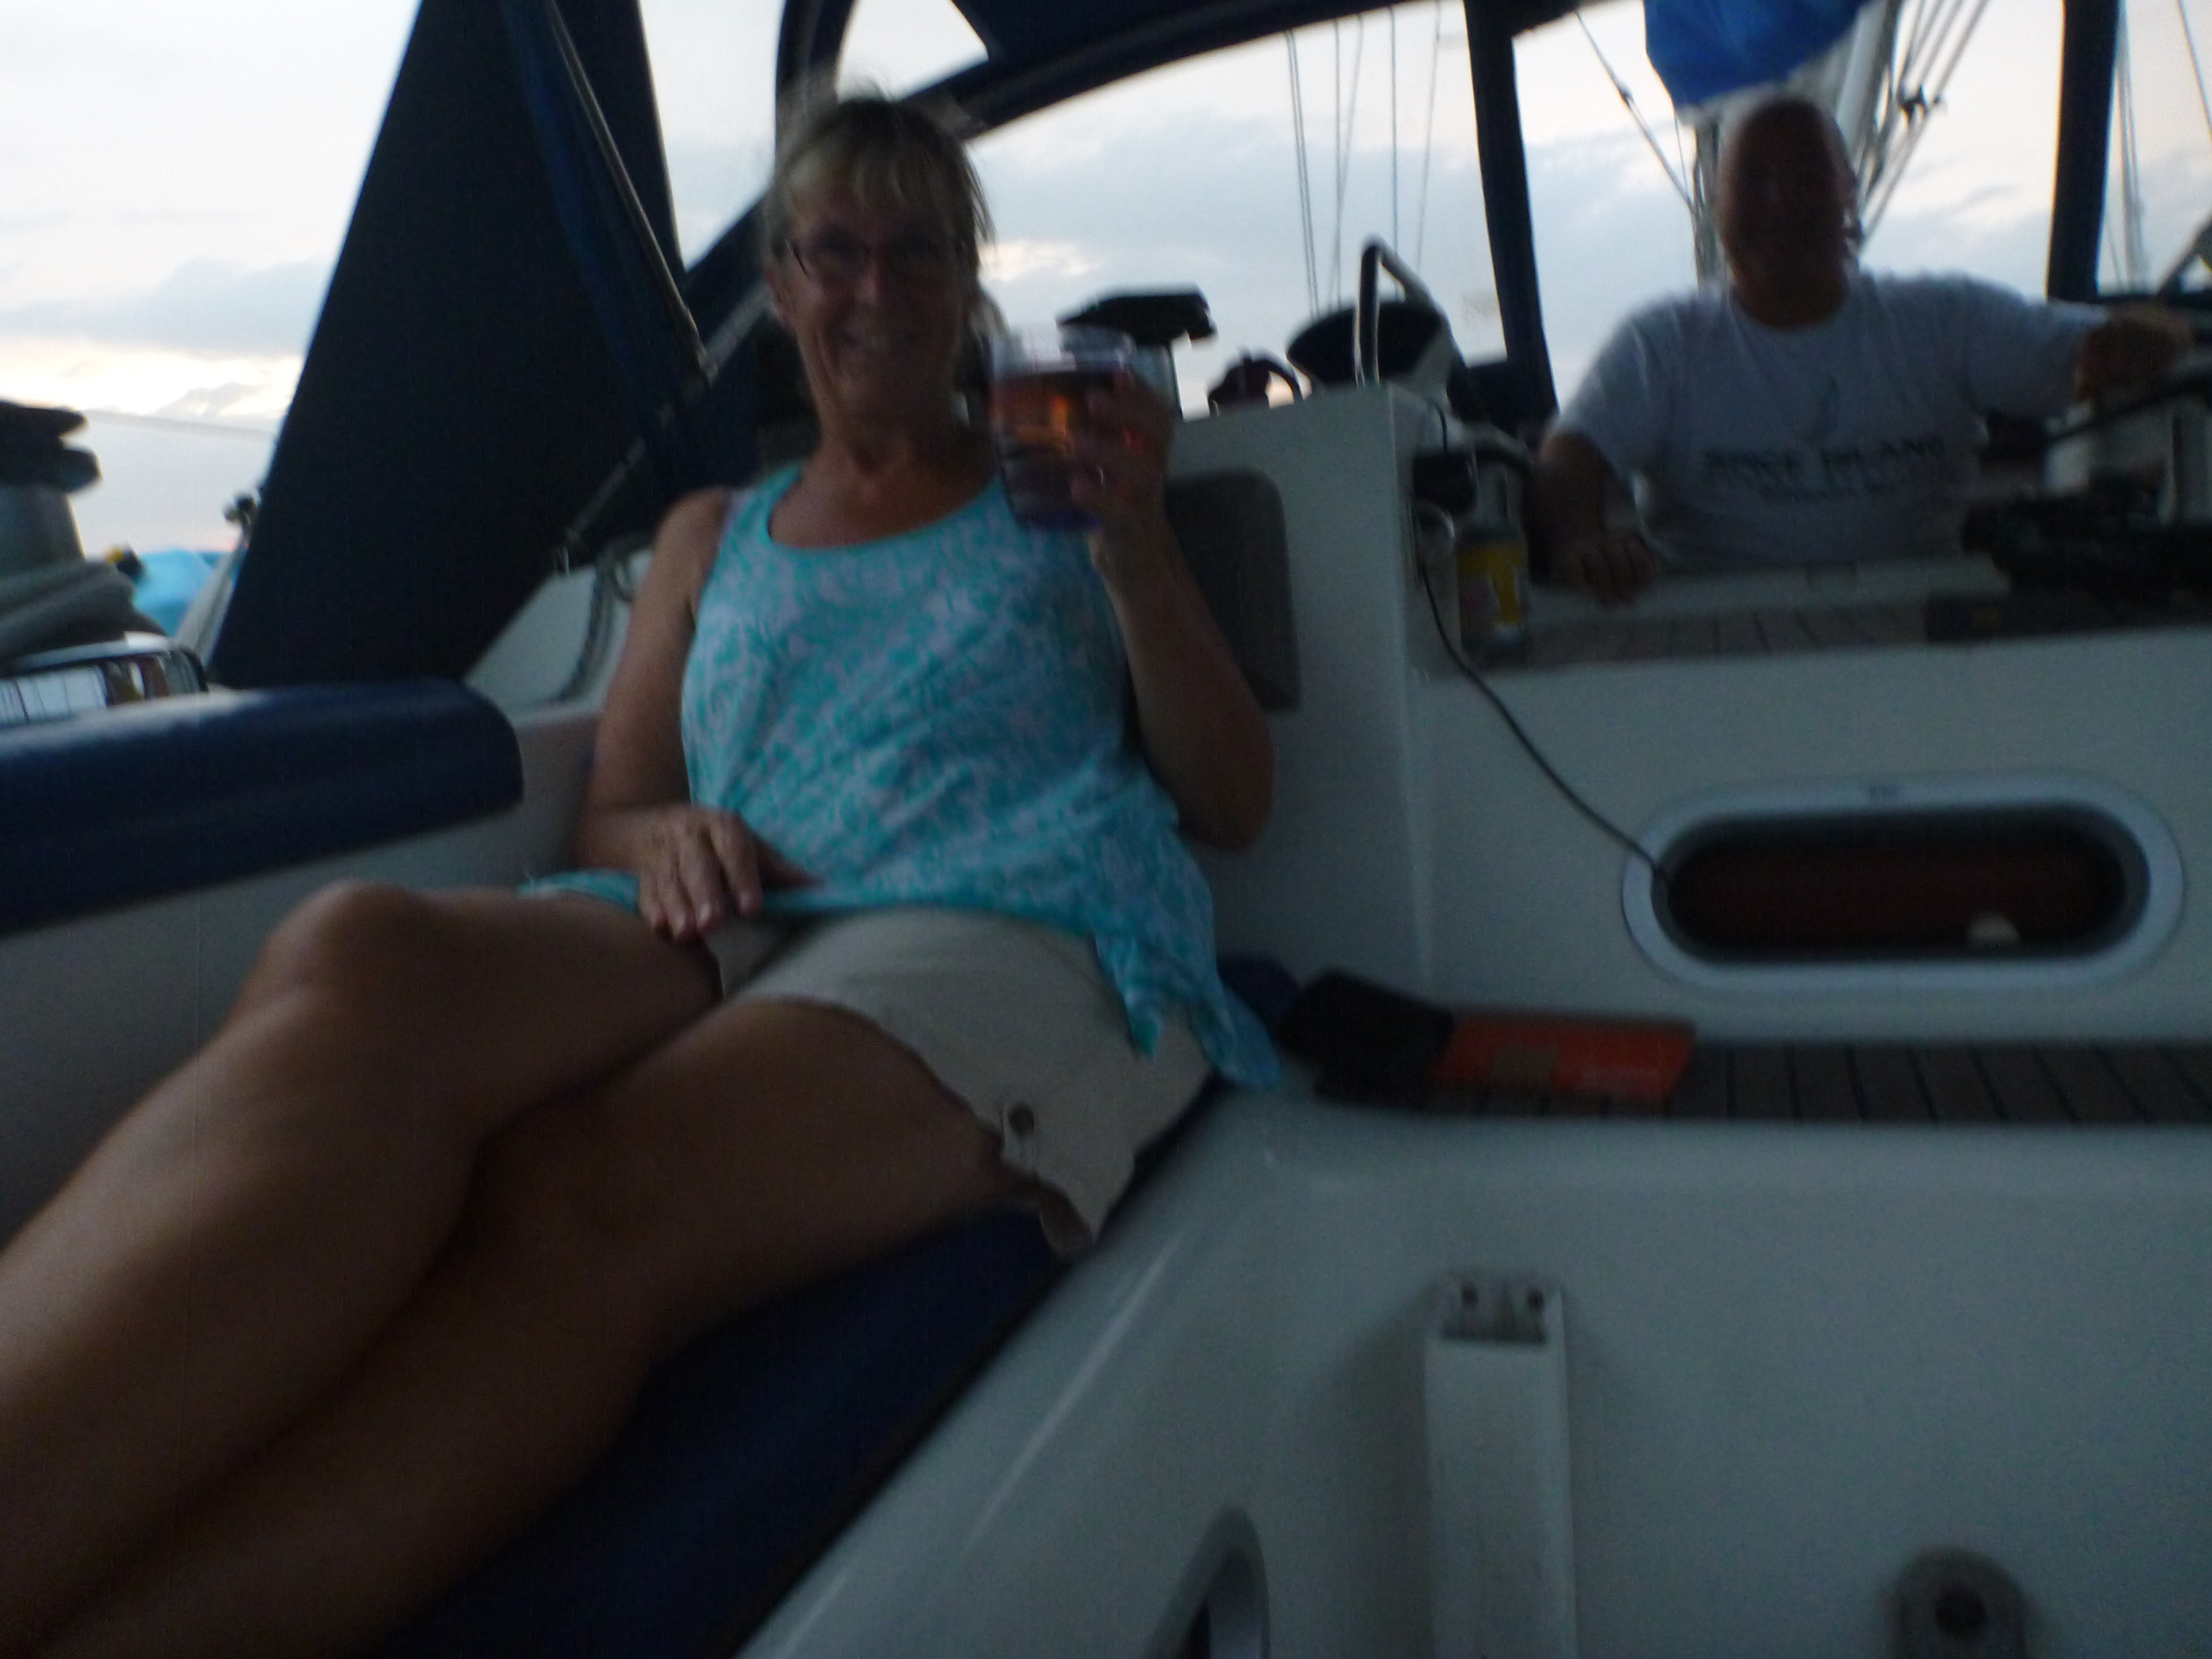
After several weeks of planning (well more procrastinating but the former sounds better), months of research and just two days of cutting and sewing Temptress has smart slightly overstuffed cockpit cushions and very comfy they are too. Woo betide the first person who spills anything on them!


Thumbs up!! I am very impressed about your sewing skills. We just finshed a nice blue canvas cover for our little boat. It took us ages and nerves were all on edge not only once;-). Have a great time!! Daniela from SY Jill
LikeLike