 |
| Temptress’ nether regions….pipes all disconnected |
A sketch on the back of a to do list, a few angles measured with the navigators protractor, an online order placed with Sea Screw for stainless steel fittings, various lengths of pole and more, then drilling two holes at the top of the boat stern to roughly fix a couple of stainless steel angled pole bases. Had the skipper completely lost his head? Did he know what he was doing?
 |
| Trying for fit |
 |
| Fitting a pole end piece |
Turns out he did, brilliantly his design allowed for the backstay angle, the wind gennie pole and for any minor variation in angle or level of the bases of the new frame. Seems he has some real engineering talent!
 |
| Looking down on an upper pole support |
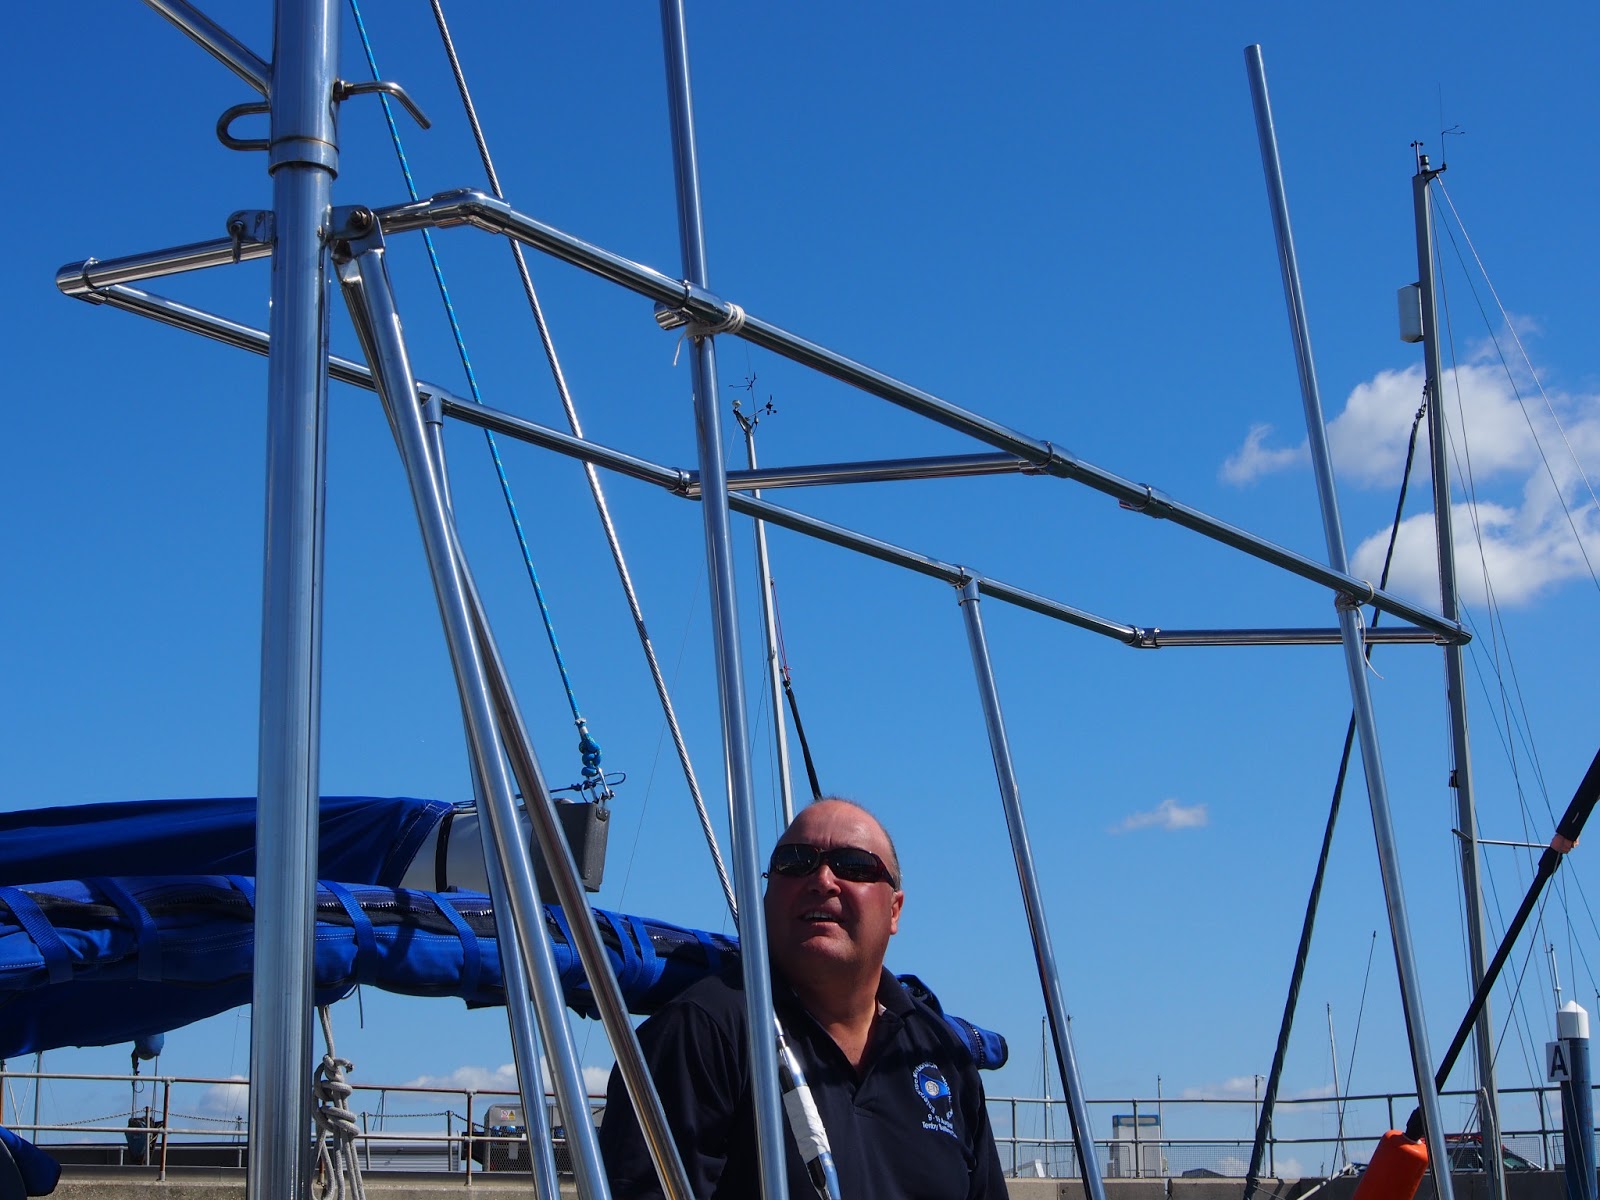
The upper two upright poles are fixed to the sloping stern using angled bases either side of the pushpit opening, the lower rear pair of uprights are further apart and attached via “ears” so they can swivel on their fixing bolts to the correct position. A top rectangular frame which will eventually support the solar panels stretches out on either side of the two pole sets and as the T-shaped connectors can fixed anywhere on the frame the whole thing was easily made symmetrical. Even working out where to cut the rear uprights to ensure the top frame ended up horizontal wasn’t too hard to do. The ears were tacked in place with screws temporarily, the poles attached but free to swing then the rectangle of tubes was placed on top of the upper poles with the lower ones inside it. Loosening the grub screws that held the frame in the upper pole connectors allowed it to swing up or down until a spirit level showed it to be pretty close to horizontal. Tighten up the grubscrews, ensure the lower poles were vertical and mark off with a pen where they poles needed to be cut. Finally replace the screws with more permanent bolts.
 |
| Top Frame Mark I – far too wide |
The top frame was initially assembled using two 2m and three 1m pre-cut lengths but as this resulted in an area large enough to mount a double bed and our solar panels would have had difficulty lying across the gap two of the1m lengths were cut in half so the rectangle ultimately ended up as 2m wide by 0.5m deep.
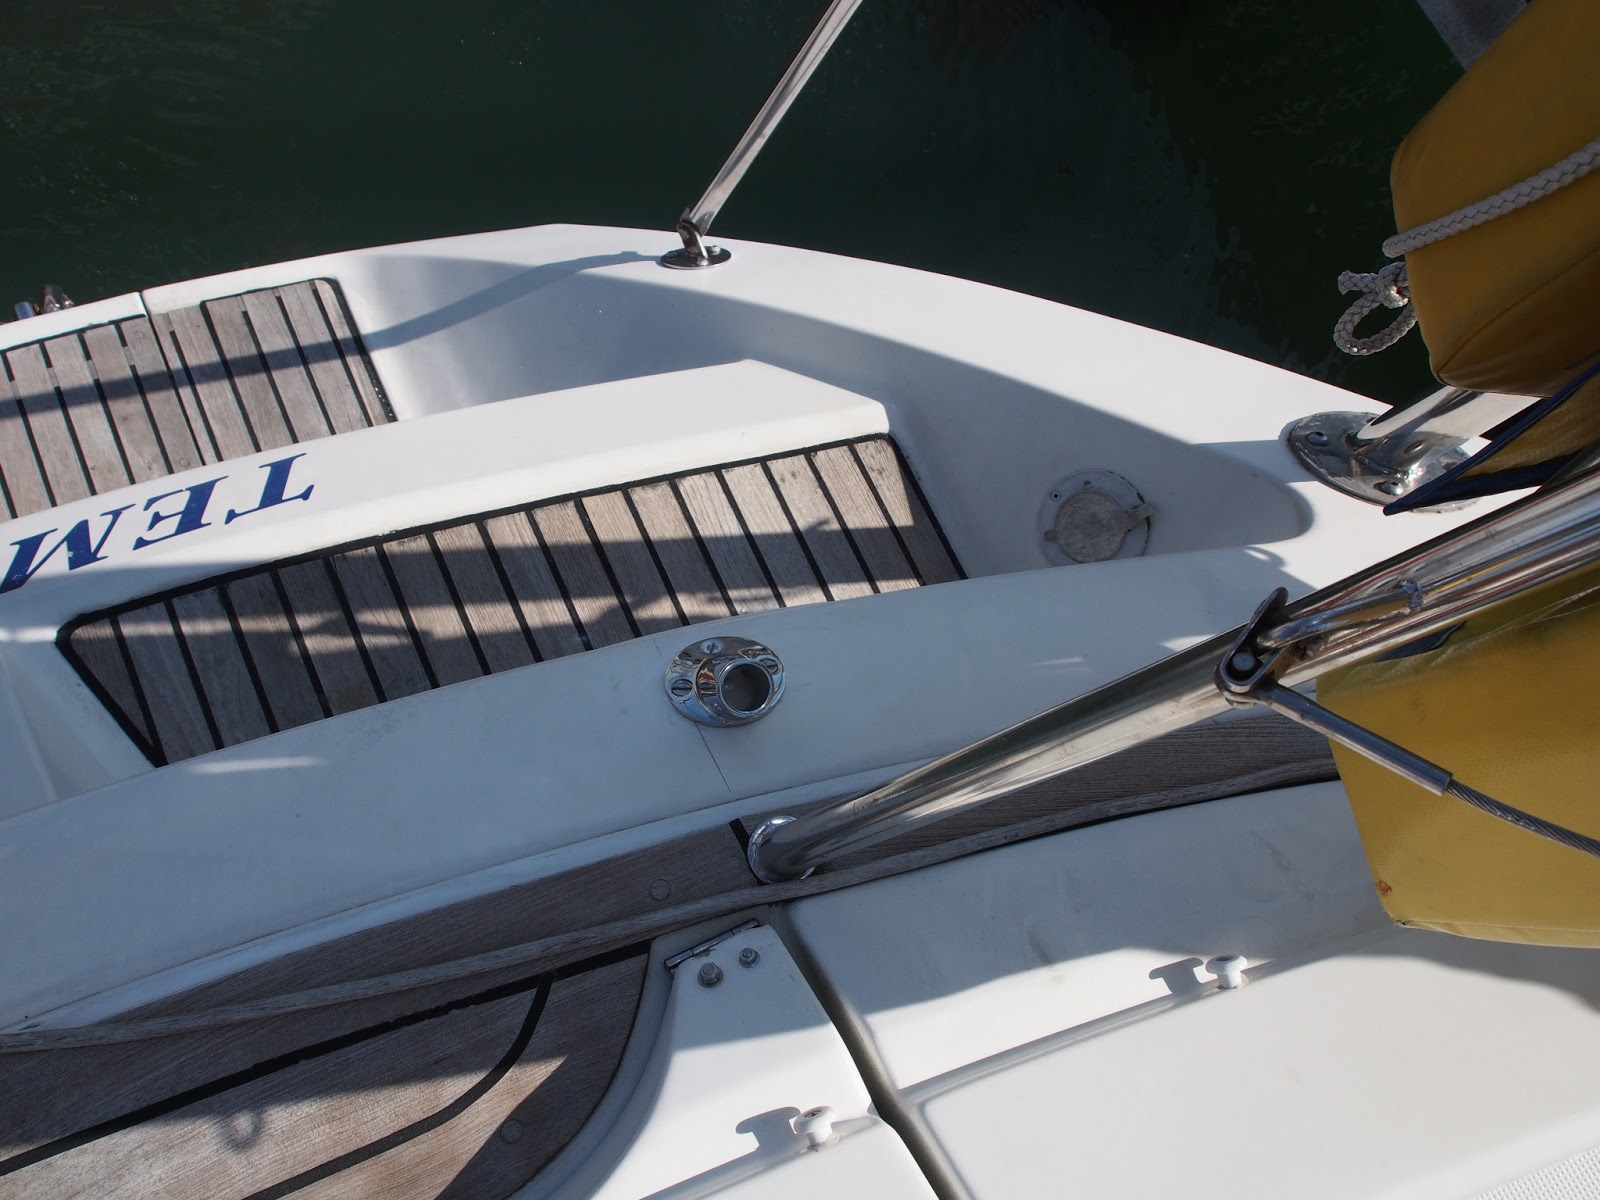
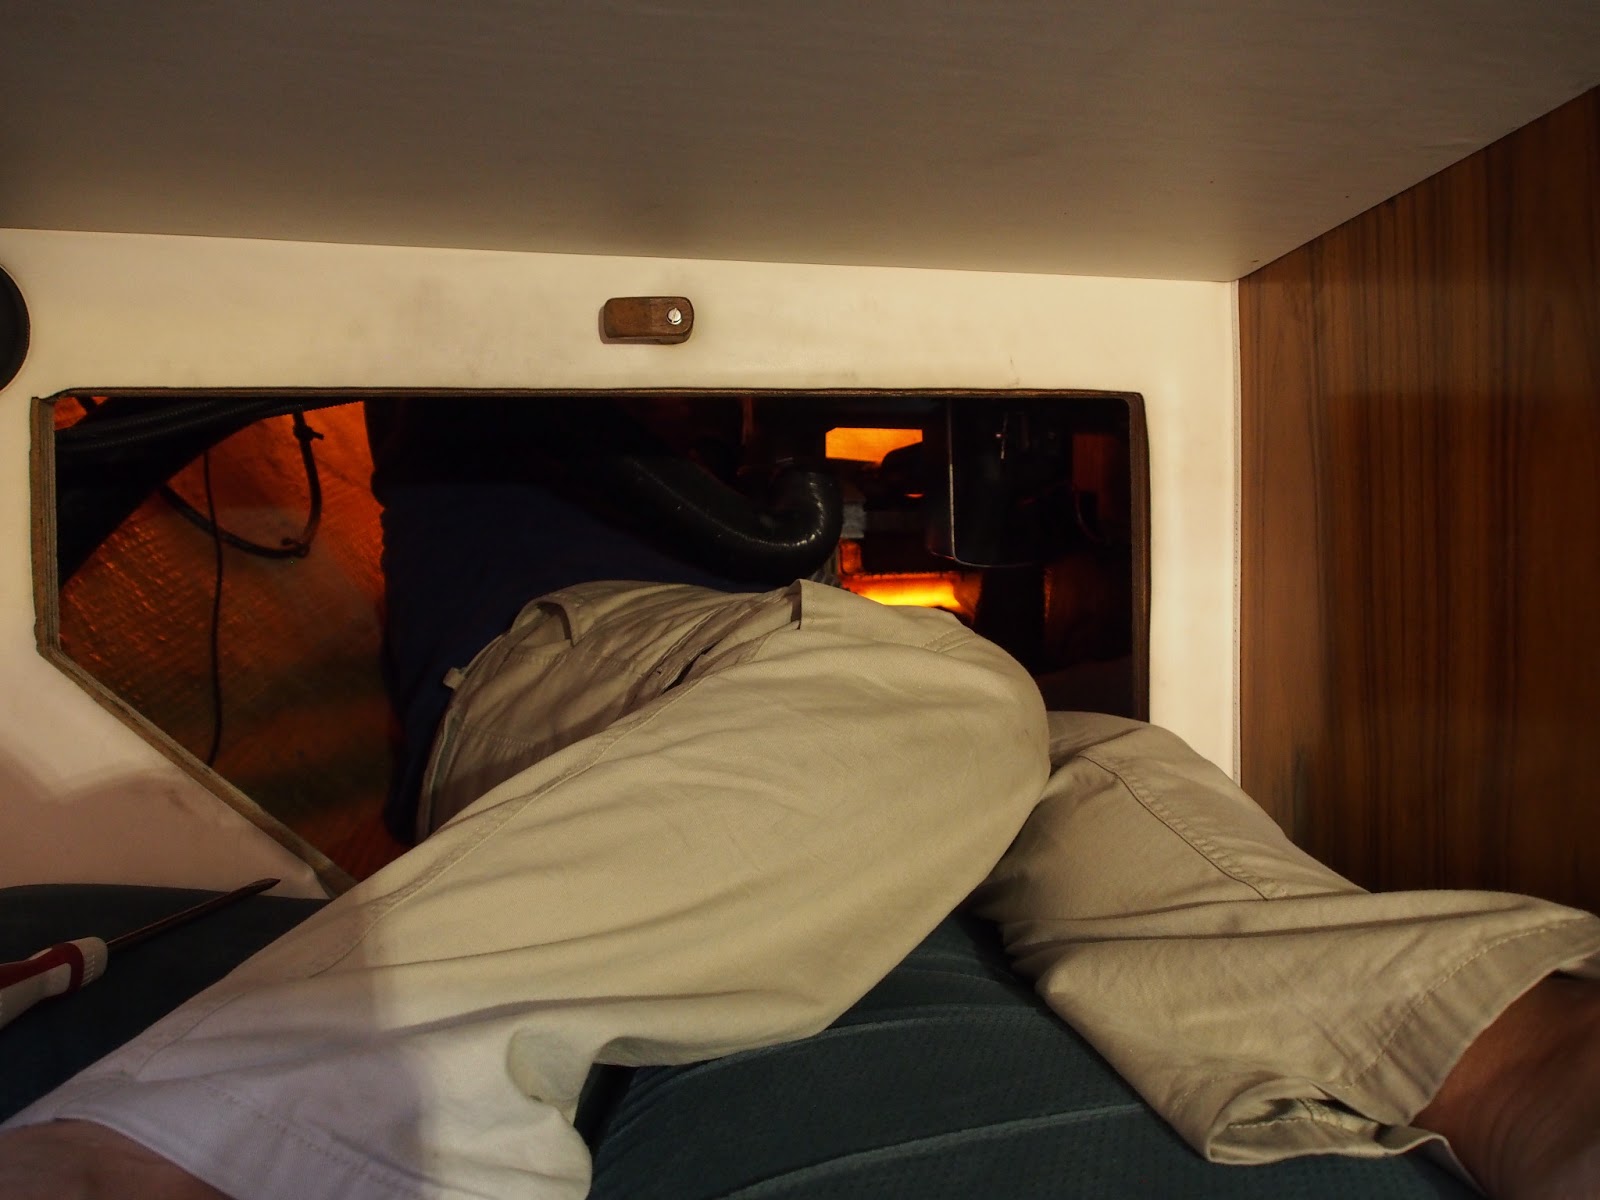
The most difficult part of the installation was accessing the netherworld that is Temptress’ so called services area. This wedge of space behind and below the wheel is where the steering quadrant is located plus (deep breath) the eberspacher diesel heating unit and its main 100mm duct, the air inlet and outlet for the engine room (two 100m pipes), the autopilot ram, the throttle and gear cables, the supply pipe to the cockpit shower and a miscellany of other pipes and cables. Light isn’t a problem, the kevlar hull is thin enough above the waterline for an eerie yellowy orange gloom to pervade the space complete with the moving reflection of the ripples on the marina surface outside.
 |
| Final top frame assembly |
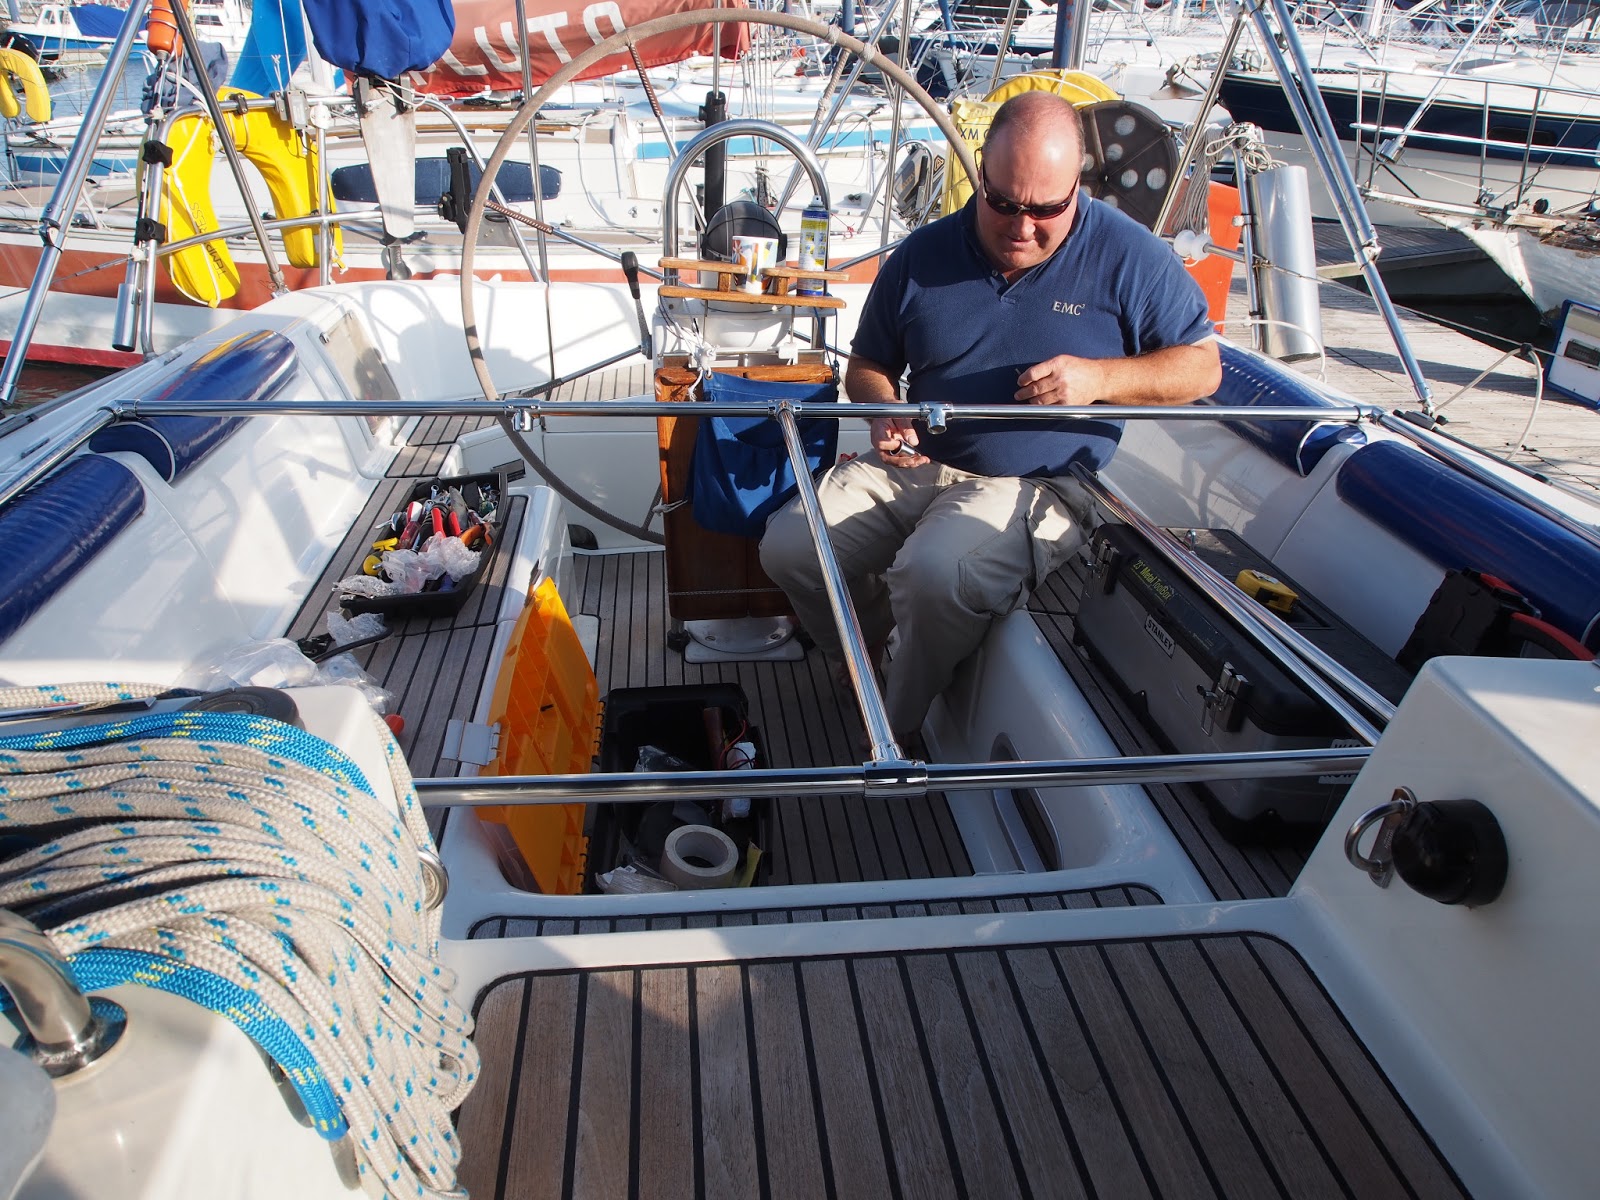
To reach the backs of the new fittings the heating and air ducts had to be disconnected and various cable ties cut as you go in. Assuming you don’t suffer from claustrophobia, you wriggle through the hatch at the foot of the starboard aft bunks on your back immediately turning left between the steering gear and the bulkhead over to the port side and then right again to lie under the gas locker. Once in position tools, supplies and a torch can be passed in before the other crew member heads up on deck to turn the screw driver once the washer and nut are started on the bolt and a spanner is in place below. Only one bolt gave any problem – it was just out of reach of the skippers arm, a longer bolt quickly got over the issue. Aside from the tight space, the netherworld victim is lying on raw fibre glass; no matter how well protected, your flesh gets prickled and spiked by it. A shower is essential afterwards and the skipper’s t-shirt was a right off after day 1.
 |
| End of Day 1 – how do I get out of here? |
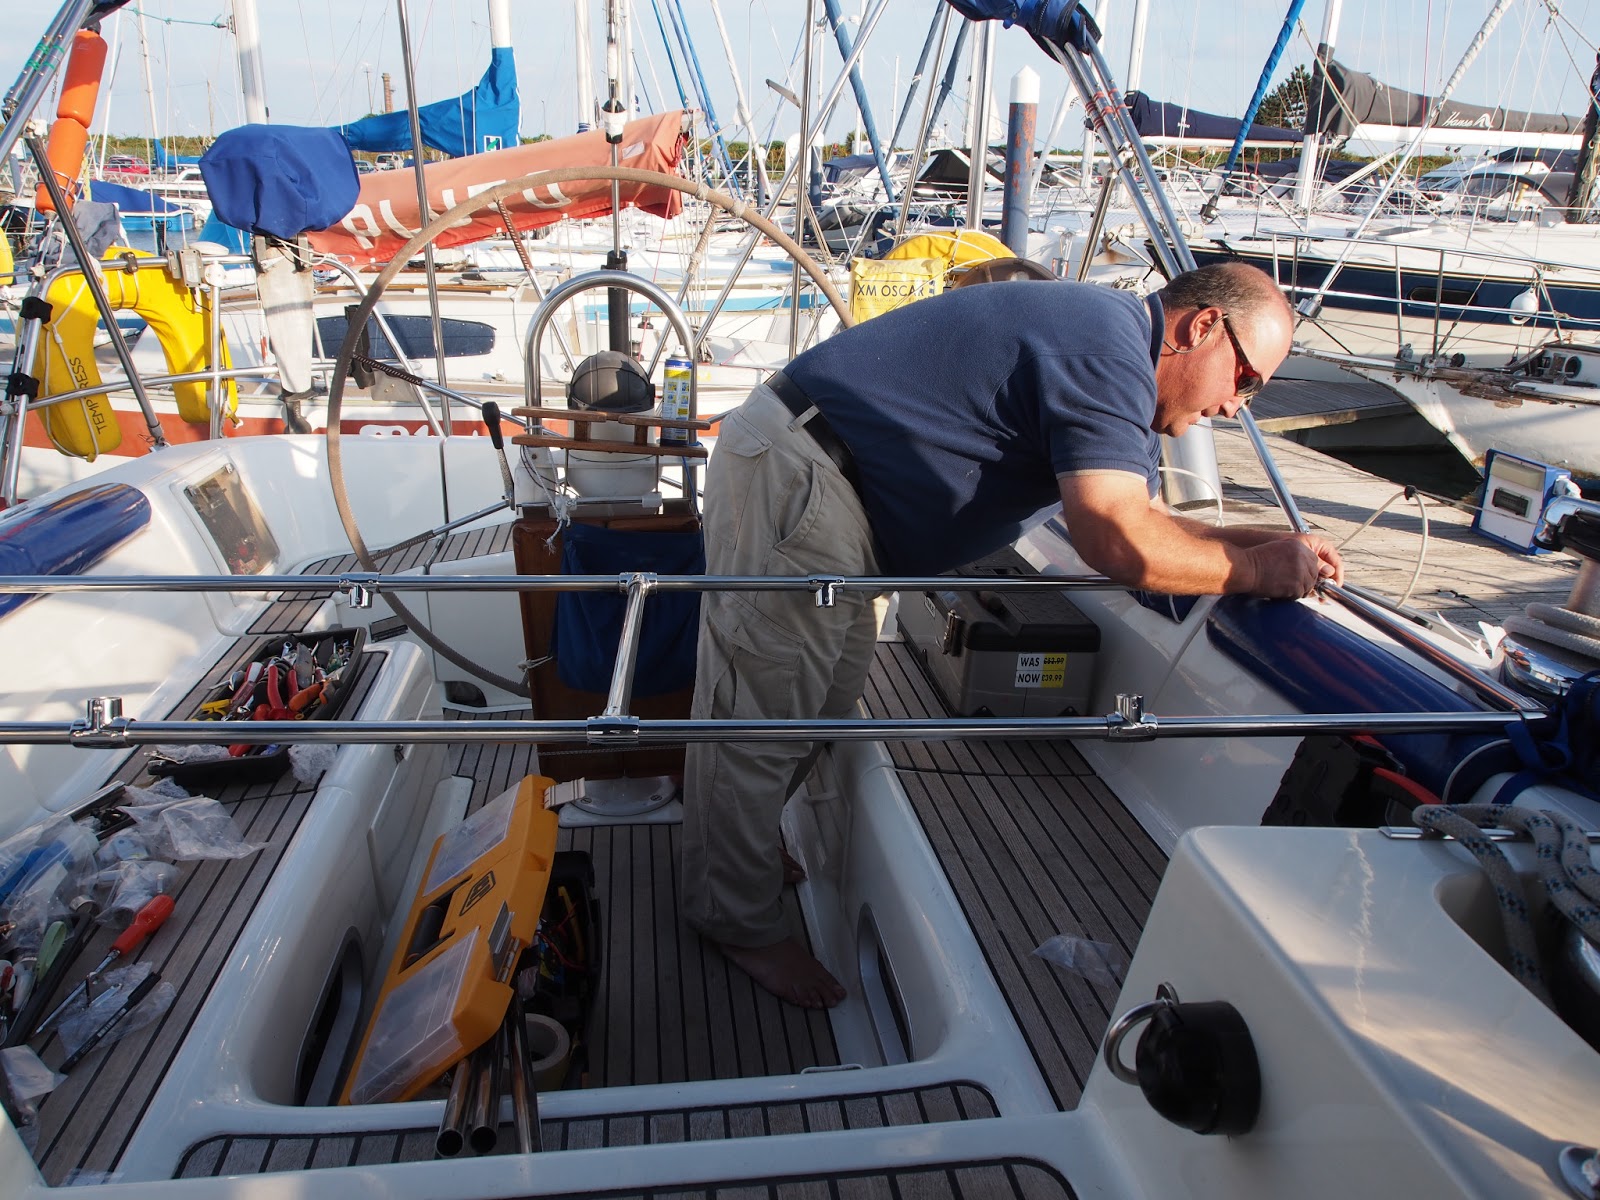
Day 2 and the lower ears were easier to bolt on – only two bolts rather than the three for the upper bases and being lower down the stern steps there was more space to work in, though the skipper had to own up to much of it being done by feel as he simply couldn’t get his head at the right angle to see. Finally the ducts and pipes were reconnected and cable tied back into place and the heating tested to ensure the warm air reached the crew in the cabins and not any passing ducks who cared to gather on the stern of Temptress.
 |
| Top frame tied to lower aft poles for fit |
 |
| Emptying the aft cabin again |
 |
| Refitting the heater pipework |
 |
| Bits and pieces |
 |
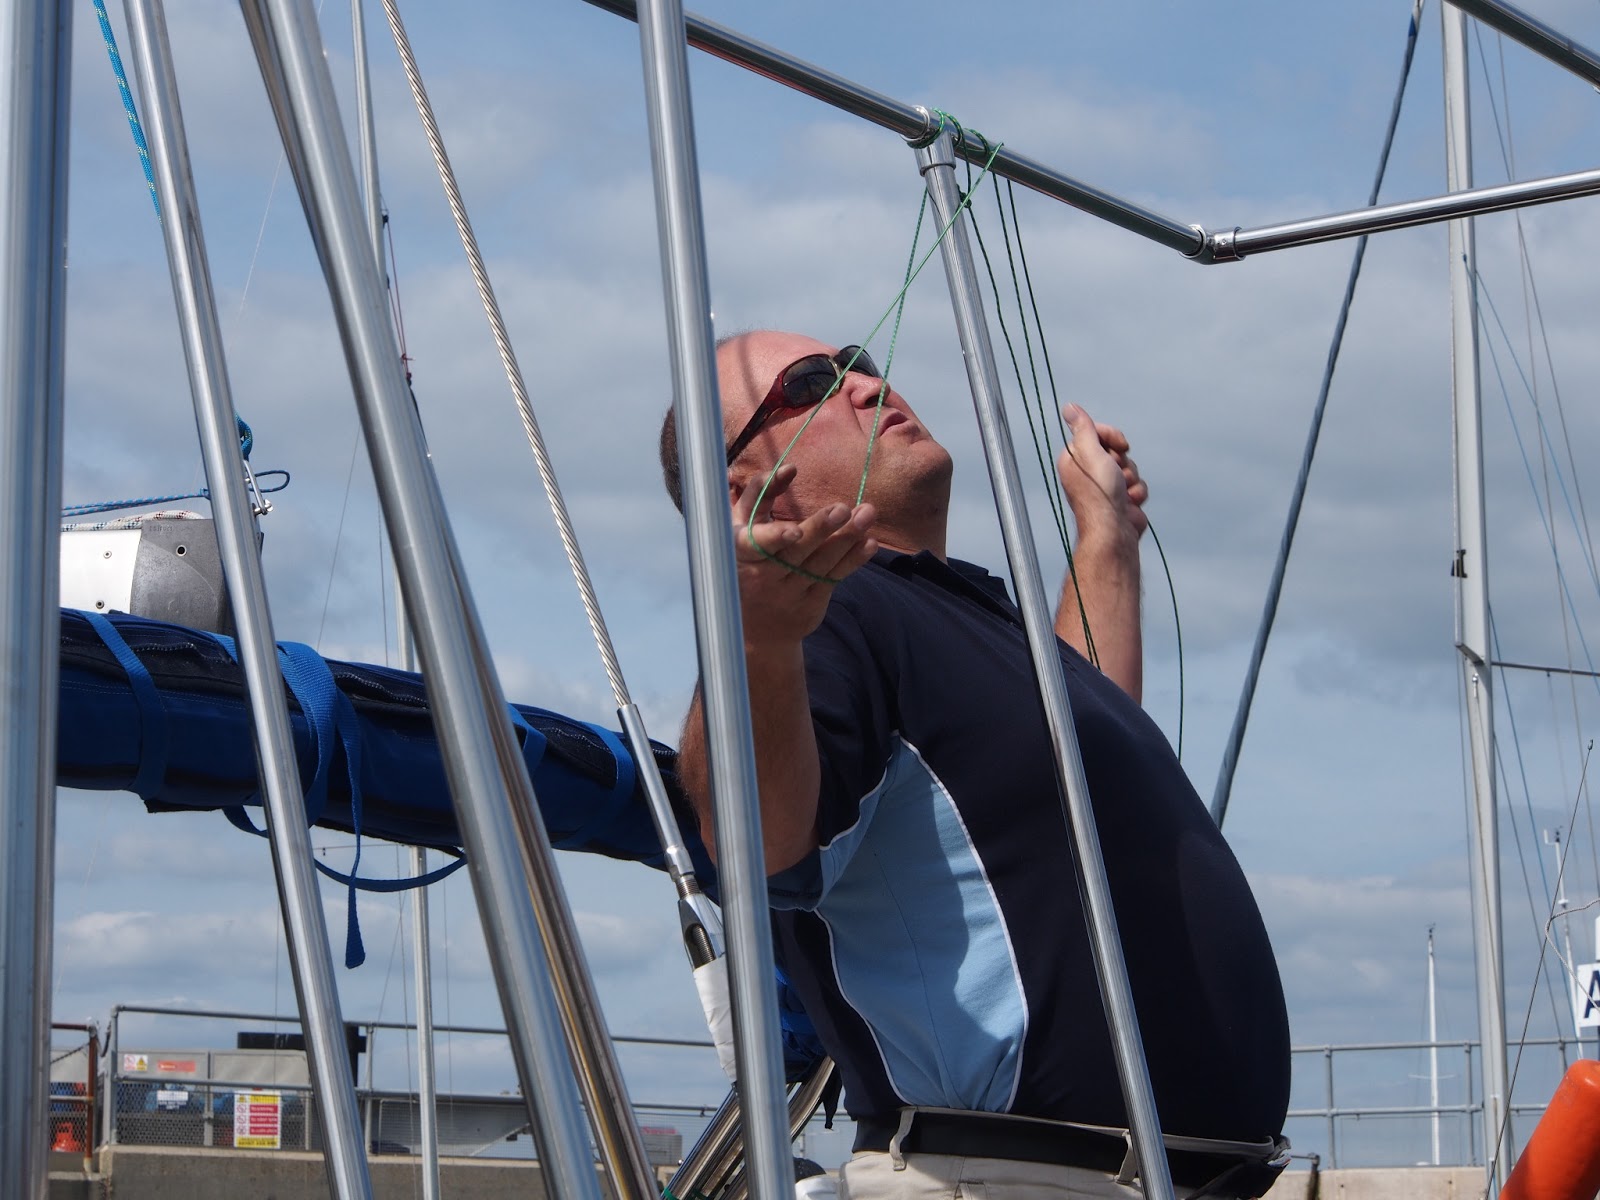
| Tying on the string |
A last step for the day was to stiffen the structure using diagonal poles between the front and back supports and temporarily, some dyneema to secure the whole to the pushpit in the hope of preventing preventing sideways movement. The Seascrew system of endpieces held in place by grub screw means that assembly of the poles into the shape required is relatively straight forward, no welding and easy to change the shape if need be.
Now the initial design is in place we can see that it needs some sort of permanent fixing to the push pit so Kevin is going to consult the Sea Screw catalogue again for ideas. The overall height may need lowering to reduce windage. At present the platform for the solar panels is above the supports for the wind gennie but it might have to come down a foot or so meaning the inner wind gennie support will have to pass through the rectangular frame reducing the area available to support the solar panels. Only when the solar panels arrive on Tuesday and we’ve had time to try them in place will we know what the best compromise is between fit and windage. Meanwhile the ensign has a new temporary home high up (too high?) on the port aft upright and we’ve realised that the framework together with the outboard propeller completely obscure the stern light so the light too will have to be moved to sit on the frame.
 |
| Job Done! For now… |


Fantastic blog post. The post affects a lot of urgent challenges of our society. We can not be uninvolved to these challenges. This post gives good ideas and concepts. Very informative and practical. Bay Area Solar Companies
LikeLike