 |
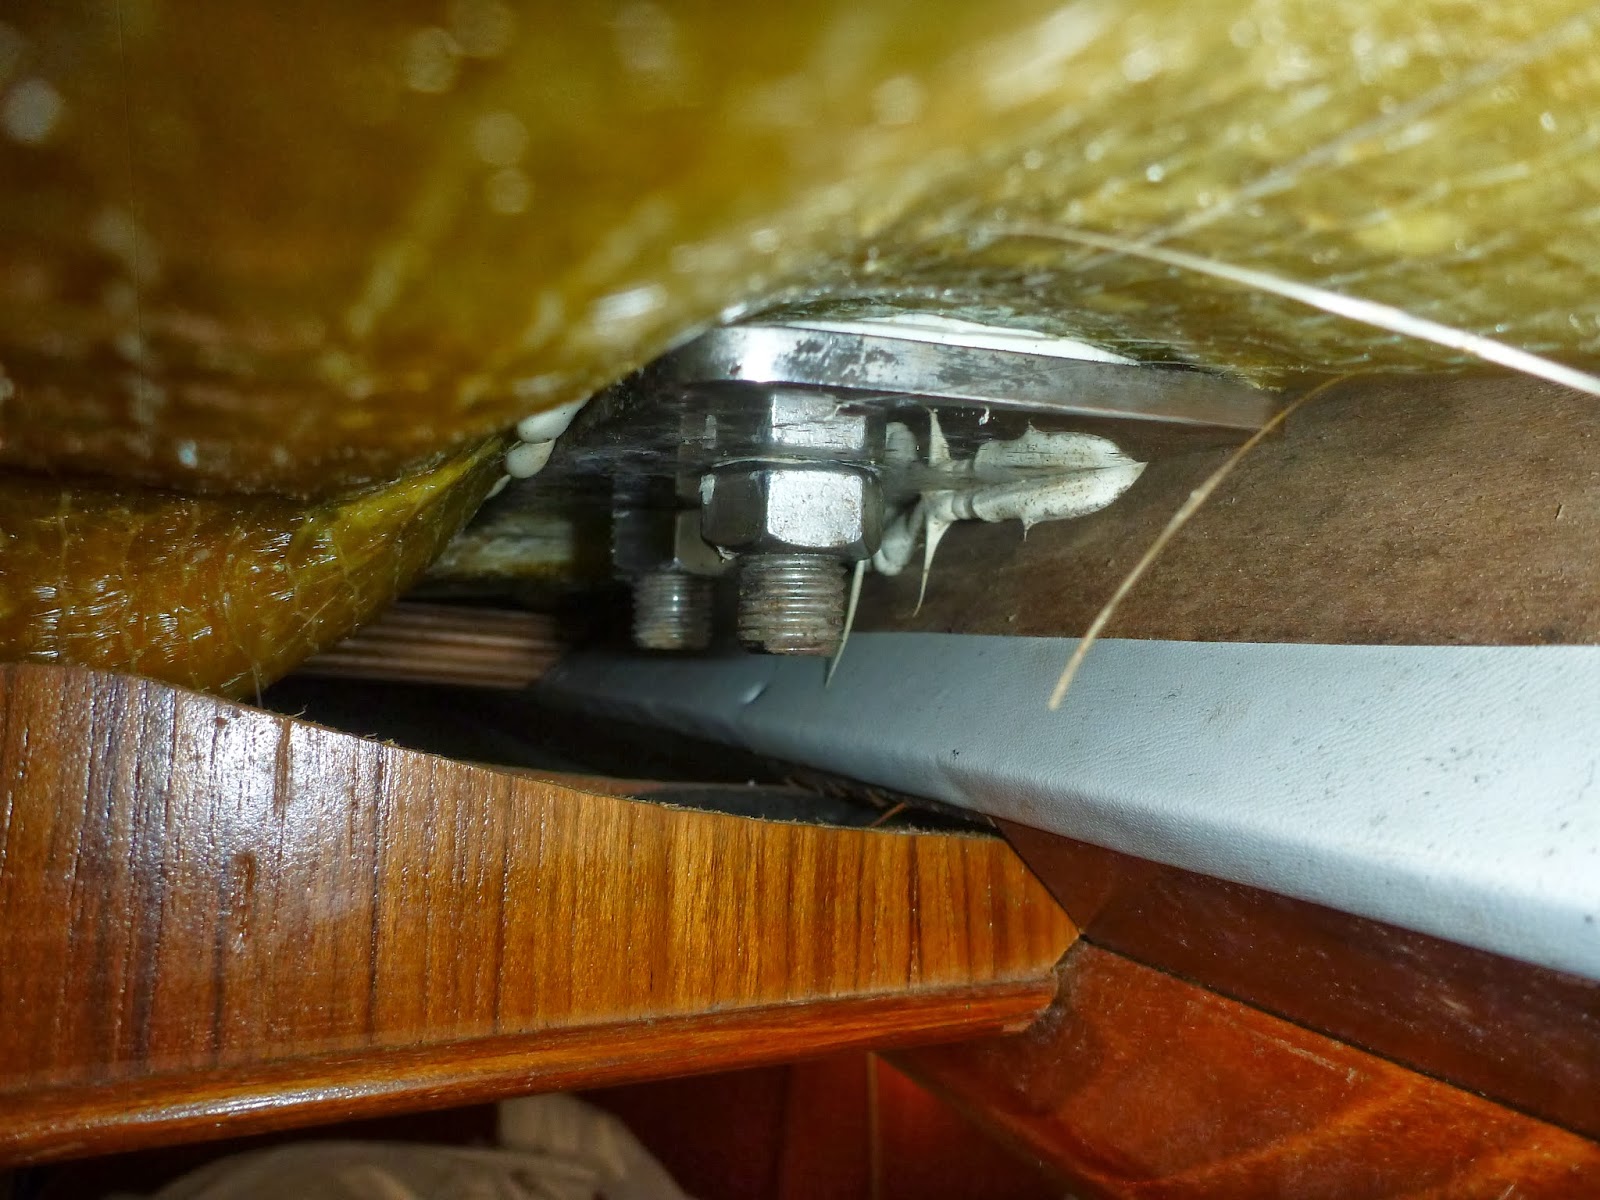
| The base showing the sheared bolts |
When the deck fitting sheared on the port hand forward lower shroud the skipper reacted with his usual cool level headedness when things get tough. For non-sailors this shroud is a thick wire cable between the forward edge of the mast at the lower spreader level and the deck. The deck fitting is a thick oval of stainless steel with a tang welded diagonally on the top to which the shroud is attached via a bottle screw.
Within an hour a temporary repair was rigged tying the fitting at the end of the wire to the toe rail in three places using a length of dyneema (ultra strong rope like steel). The shroud itself is not too structurally important unlike the wires that run from the top of the mast to the deck but it is still part of the whole rig and would affect performance and could compromise things in windier weather on the other tack when it would be under tension as the mast leans away from it.
 |
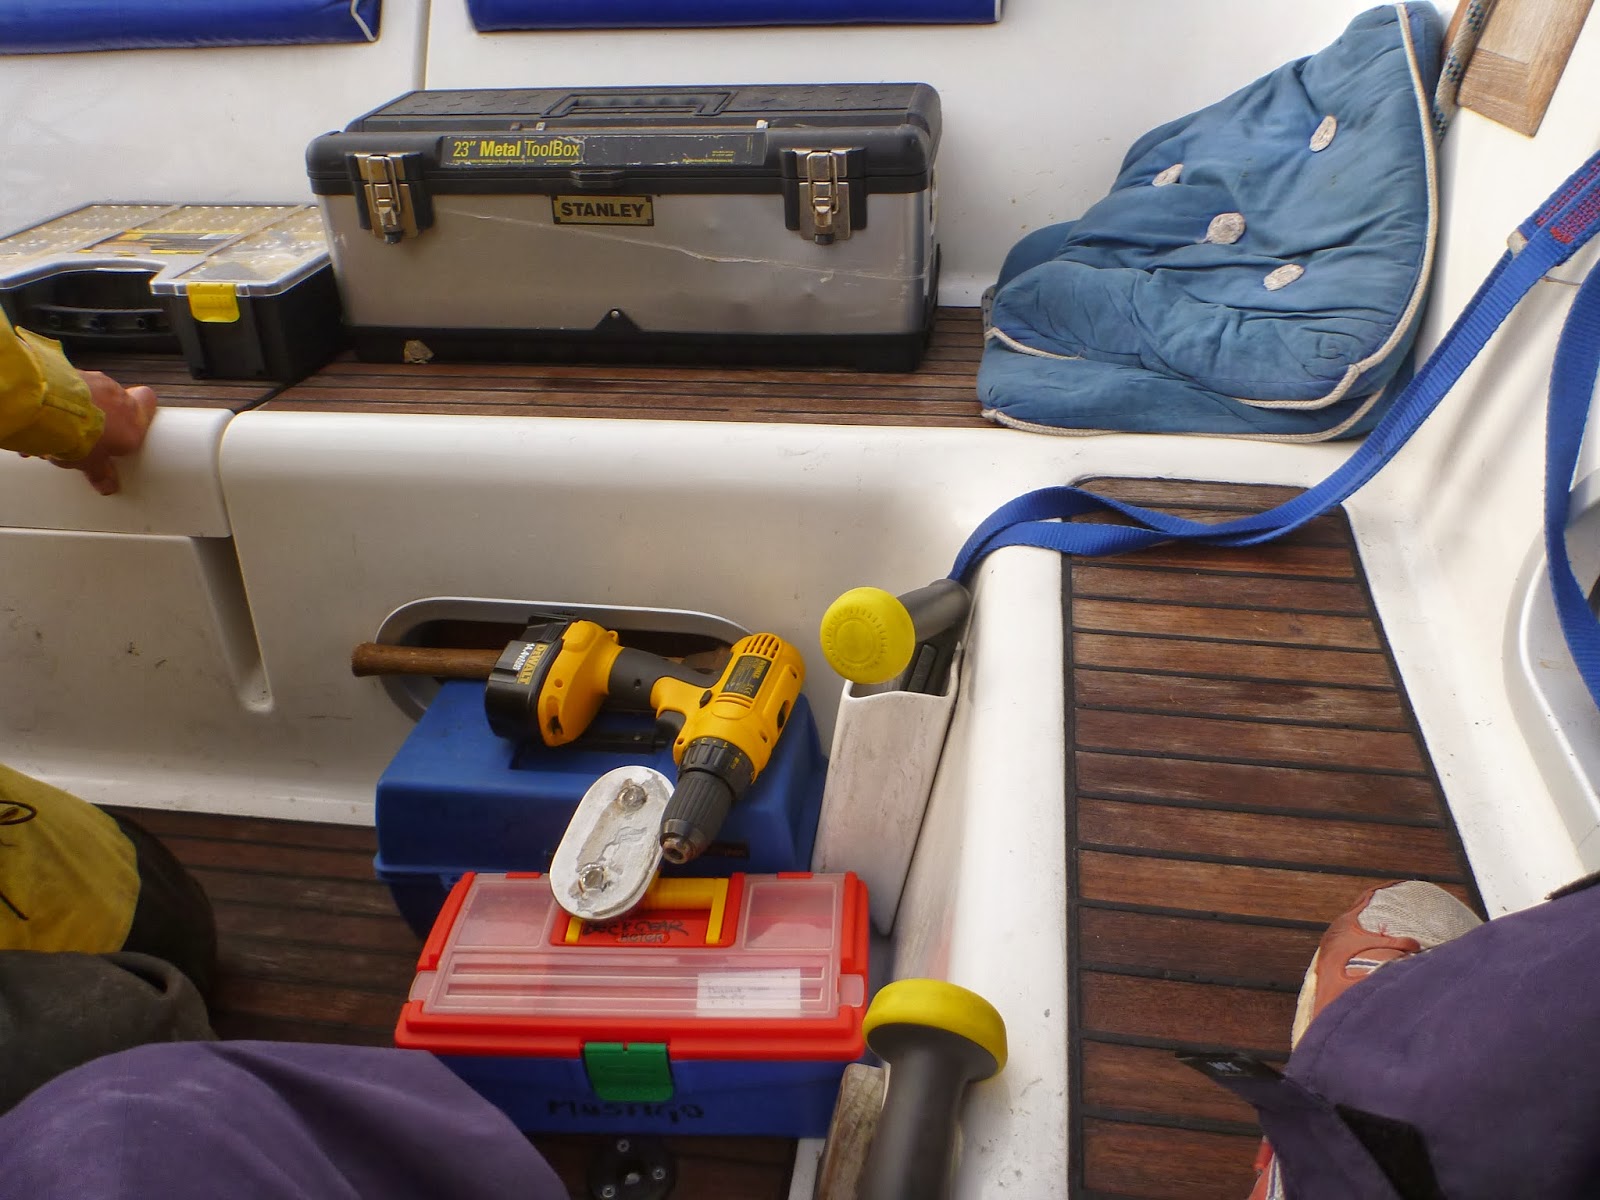
| The workshop – the blue box became the workbench |
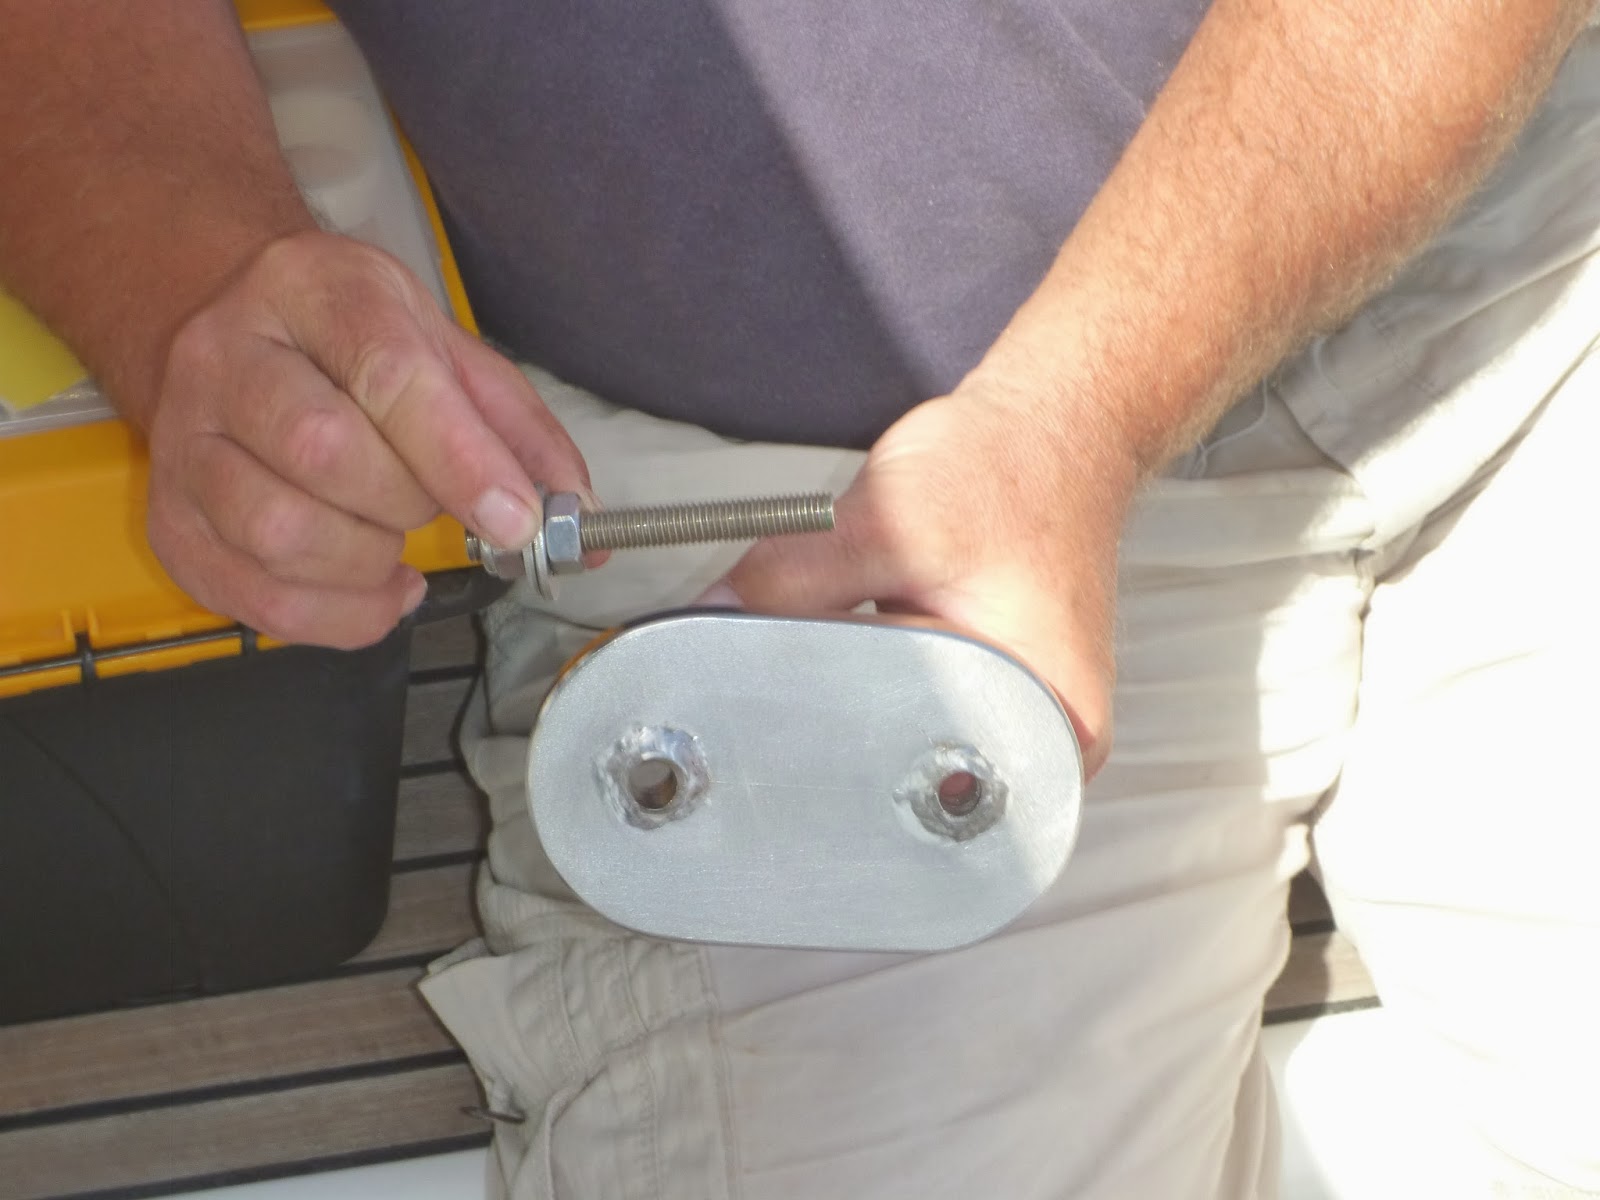
By first light Kevin had thought through a potential solution which would involve drilling out the original bolts from the deck fitting, knocking through the remaining stumps in the deck then using the largest bolts we had on board bolt, bolt through fitting, deck and the under deck base plate. The heads of the original bolts had been welded into the fitting so it was going to be a tough job making the holes.

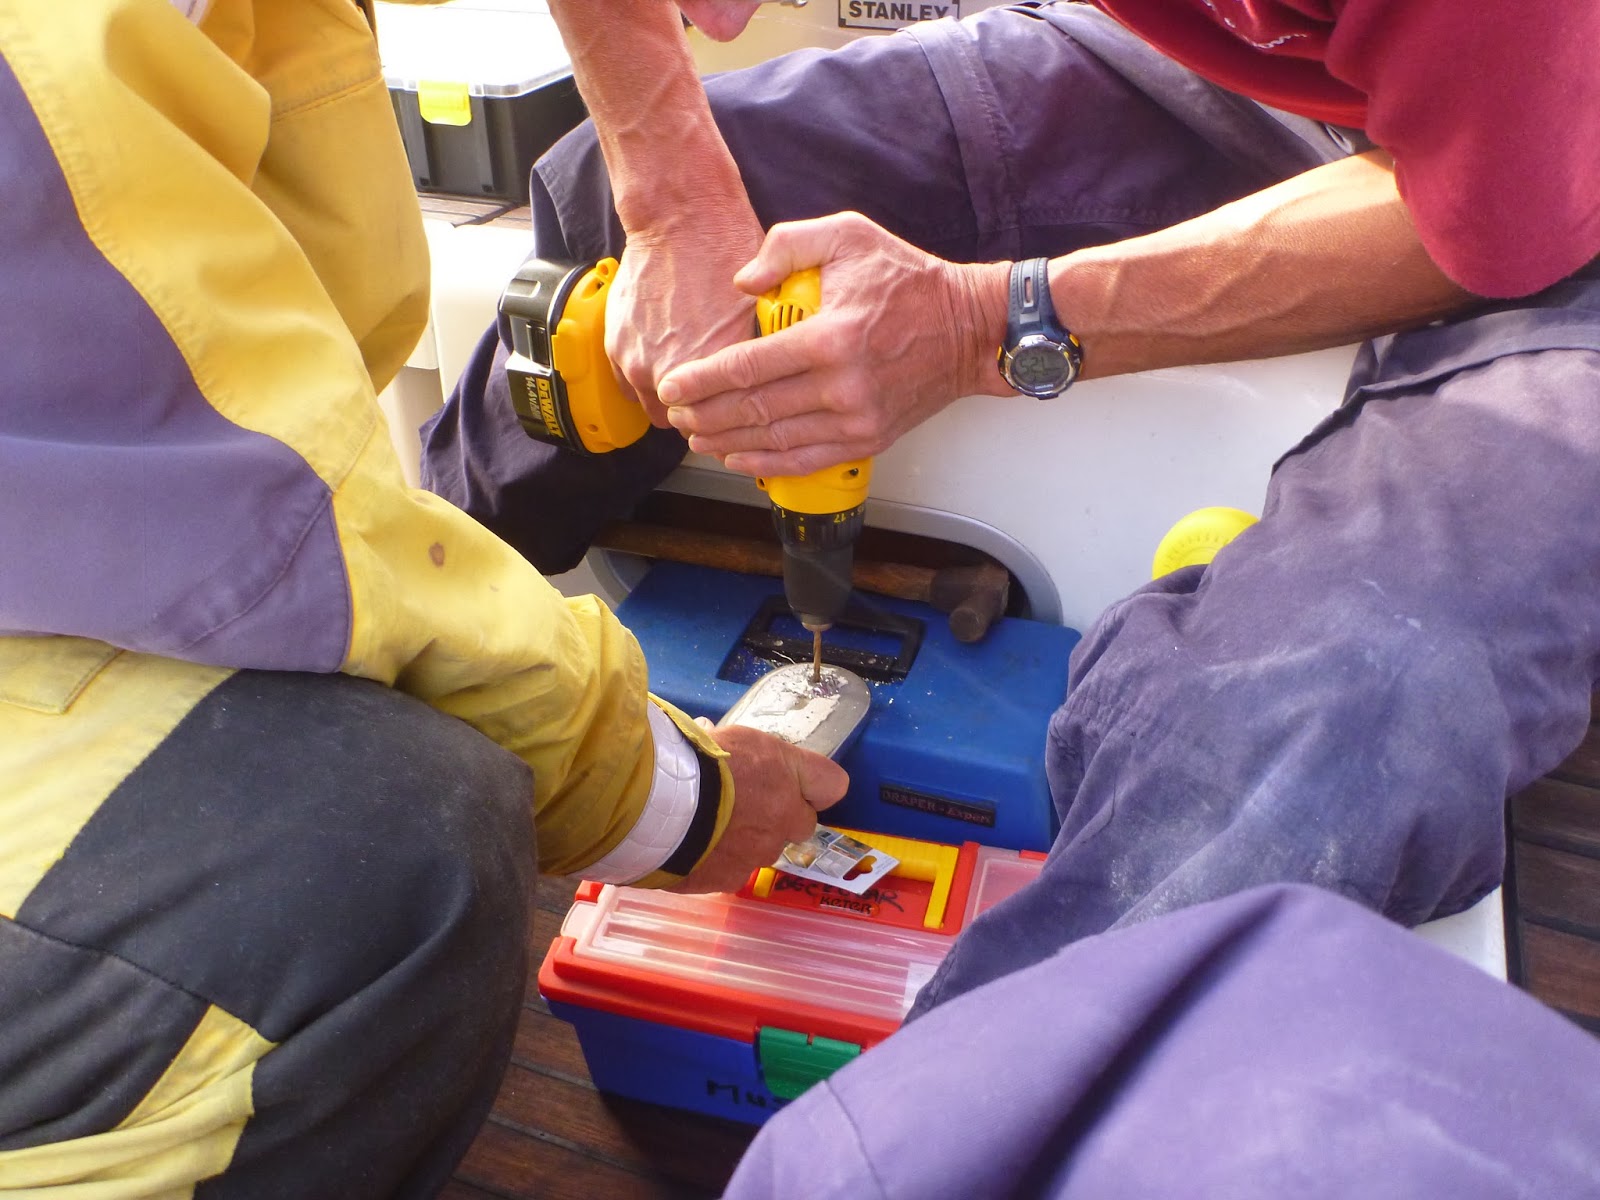
Without a vice or a proper workshop a storage box wedged in the corner of the cockpit became a workbench and a strong hand supported the thick piece of metal. Joe wielded the battery operated drill. Pieces of metal flew everywhere, shoes were required as was a regular brushing to avoid traipsing the sharp shards all over the boat. First pilot holes were made then gradually widened using progressively larger drills until they reached the ten mm diameter of the new bolts. The process was slow as despite having two batteries; in the warmth of a tropical day charging took a long time as the small inverter (one designed for in car charging of camera batteries and phones) kept overheating.
 |
| Under deck the old bolts looked firm |
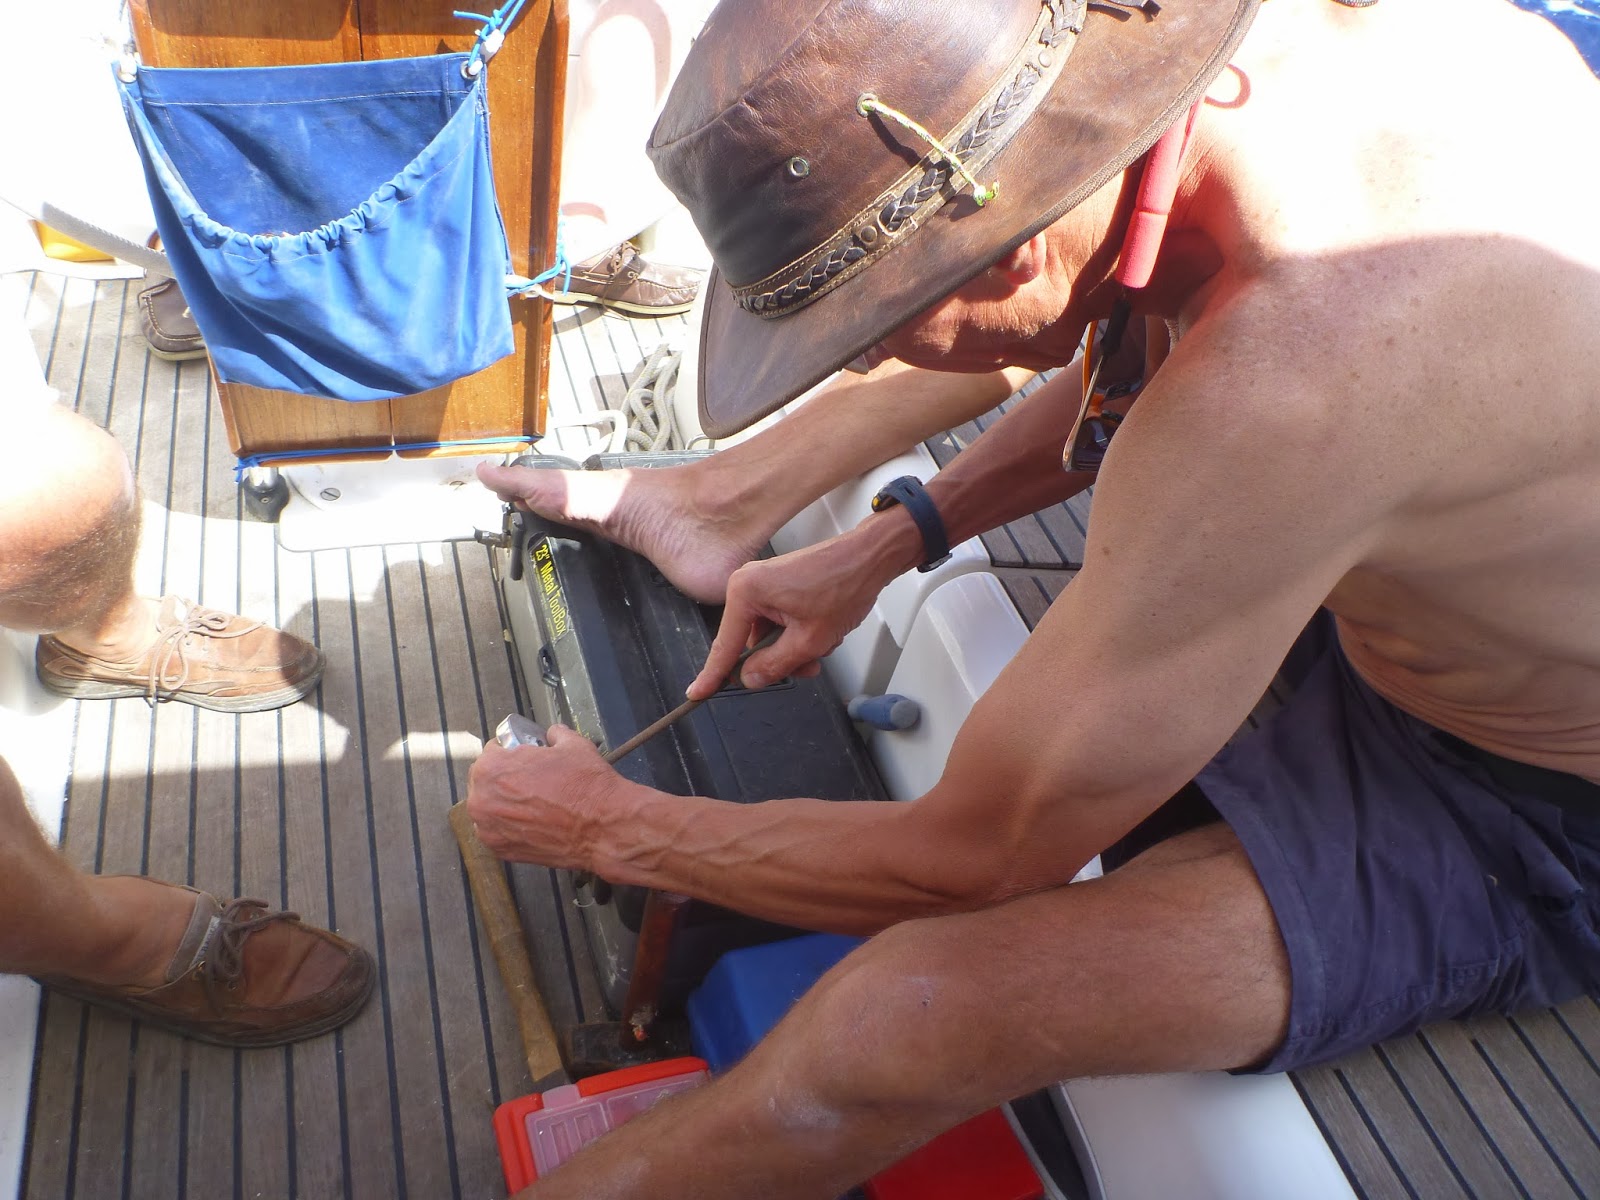
There was plenty to do though, the remainder of the old bolts needed knocking through the deck and the whole area required cleaning up of sealant and crud so that the fitting could be re-bedded without any leaks. Vital not only to the health of the replacement bolts but the First Mate would not appreciate sea water drips on her head when lying in bed directly below the fitting.
Eventually charging took so long that it was easier to empty the aft storage cabin and retrieve the big inverter tucked at the very back. Not an easy task at sea as all our storage boxes had to be stacked up carefully so they didn’t fall about the rocking saloon or empty themselves over the floor. Everything survived but we were all hot and sticky by the time it was all tucked away again.
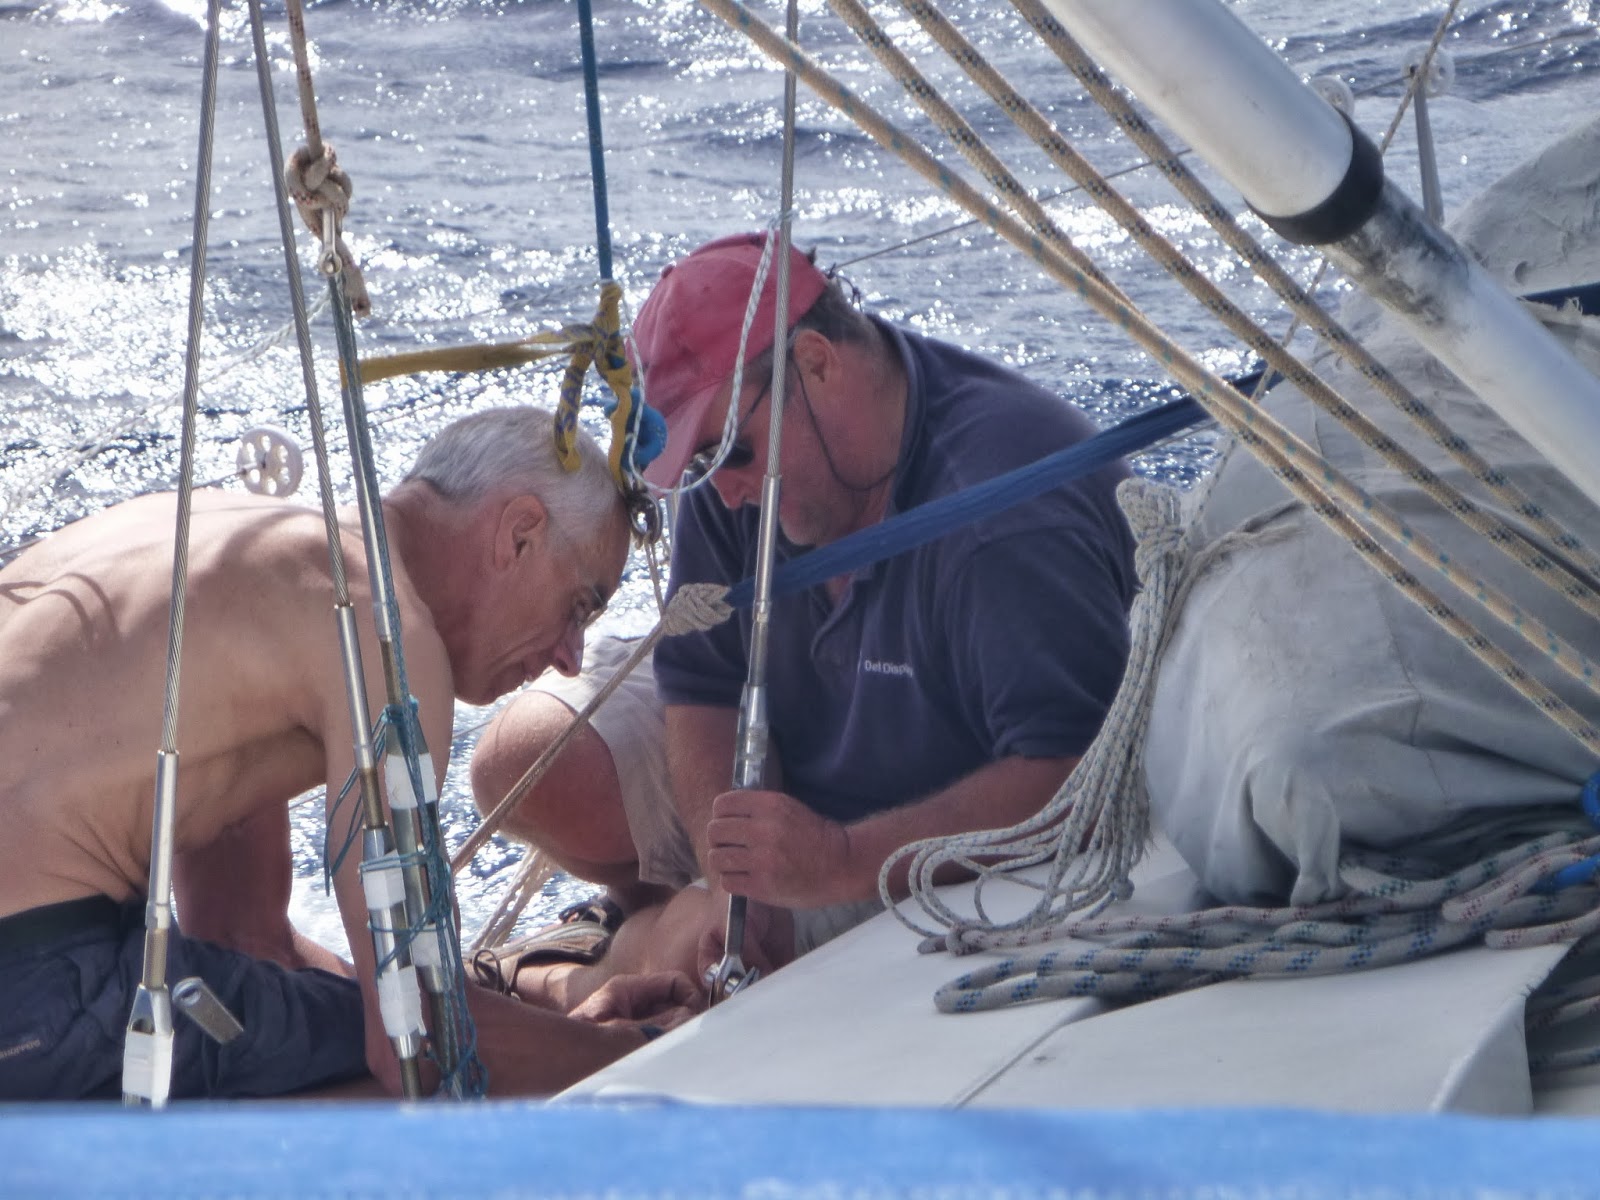
Once the deck plate was bolted in place the shroud could be re-connected and tensioned which was a bit tricky on a bucking boat but Kevin and Joe did a great job. The bottle screw was re-taped and unless you looked closely you’d never know the shroud had been repaired. The next step is to replace the temporary bolts with ones of the correct size, 16 mm purchased yesterday in a local chandlery. The marina staff at Whisper Cove have promised to take Kevin to a workshop later today where he can drill out the deck fitting more accurately with bigger holes as their own press drill is not big enough.
 |
| Charging a drill battery |
 |
| Eventually we had to dig out the big inverter from the very back of the stores |
 |
| Filing the holes out |
 |
| Ready to re-fit |
 |
| Cleaning up the topside and being pleasantly splashed with spray |
 |
| The new bolts in place with lots of washers |
 |
| Re-fitting the shroud to the deck plate |


and MacGyver thought he was good…awesome job
LikeLike