
The question every cruiser here asks when they first meet you is “when/where are you hauling out?” And most have been a bit bemused when we say we are not coming out (of the water that is). Seems being in Trinidad to meet friends is not common. Whilst we await our guests, as Chaguaramas is the self-proclaimed yacht re-fitting capital of the Caribbean, we have not been idle. Finally we’re somewhere we can purchase the materials needed for some of our long planned boat projects. Hence the first mate has been fabric and zip shopping in the land of imperial measurements which has been challenging but more of that later.
Roll Up Shade Nets for the Cockpit
 |
| The aft shade net – useful here around noon or when it rains! |
Whilst the skipper was busy asking the assistant about the finer points of some item he was thinking of purchasing sometime at one of the small businesses here in CoralCove, I spied some rolls of canvas as well as rolls of vinyl mesh called Phifertex (pronounced fur-fur-tex) that is useful for shade netting and other things. It turned out that whilst they didn’t stock canvas in Temptress’ shade of royal blue, the mesh, sold by the yard, was affordable. They also stocked zips; either black or white in imperial sizes starting from about 12 inches and going up in six inch increments. Eagerly I returned to the drawing board and our bimini to re-measure and sketch out some of the ideas that I have been thinking through for months.
Then on our first Sunday here we played dominoes during which I happened to mention that I was planning on making the cockpit slightly more liveable in when the sun is high by the use of some shade netting. The following day a fellow cruiser Judith of SY Badgers Sett called us on the VHF to say she had four large shade nets now surplus to requirements since their new cockpit enclosure has them built in. I cycled over to Powerboats later on Monday and metres of turquoise tennis netting were ours for free, a very generous gift indeed, one which we repaid with a bottle of medal winning rose later in the week.
A few more measurements later and I was ready to purchase six imperial length zips that almost but not quite matched the length of the metric ones on Temptress’ bimini edges. Zip teeth it seems are a standard size for heavy duty zips so ultimately the length mismatches are not a problem; in fact on the side pieces it worked to our advantage to have slightly shorter zips there being no need for an overlap between the sprayhood and the net. As a bonus the resulting gap permits any slight breeze to find its way in. After bit of cutting and re-shaping of the two side panels, zips sewn at the top of all three panels and a job lot of grommets added for the ties that will keep the netting rolled up when not required, our cockpit can now be a shady, slightly cooler place to sit out during the day. And, as we discovered a few days after they were inaugurated, the monsoonal rains run mostly down the outside of them meaning the cockpit seats dry quicker afterwards!
The observant may wonder what about the fourth panel we were given? That may or may not become some sort of shade elsewhere on the boat but that is a project for another day. Still wondering though how you are supposed to sew past the zipper itself. The guard around the walking foot of my Sailrite machine prevented me stitching cleanly past it. Both Kevin and I tried to undo the screw holding the guard in place and failed, probably a good thing as prevents me sewing my fingers. Instead I had to resort to stopping, taking the fabric with its partially sew-in zip out from the machine, moving the zipper into the area just stitched then recommence sewing. The end result looks a bit messy though I finally worked out that it was easier to do this right at the beginning so the last panel looks a bit neater with the join relegated to one side. If anyone out there has solved this conundrum please do let me know!
Keeping Dry at Sea with Dodgers
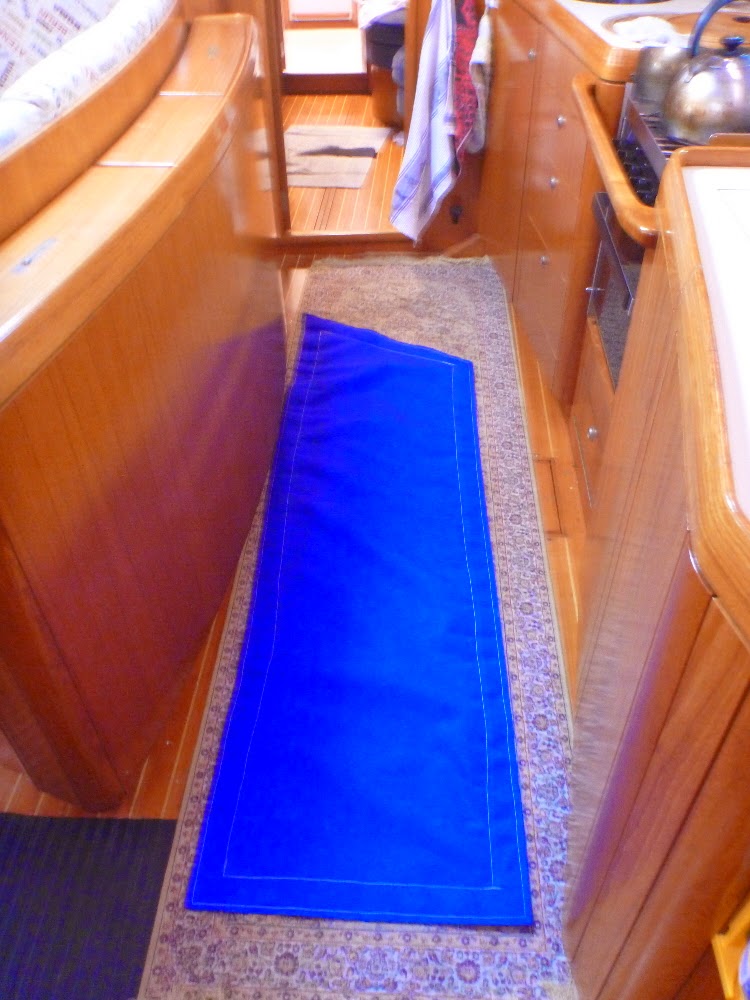 |
| Port hand dodger awaiting the insertion of grommets |
Another sewing project high on the crews lists of necessities before another lengthy downwind passage were a pair of dodgers or weather cloths as our American friends would call them. (For them a dodger is the housing at the front end of the cockpit that we call a sprayhood; this prevents waves pouring down the companionway and keeps the chill off the crew when going to windward). Temptress’ hull shape seems to drive waves approaching from aft the beam upwards so they inconveniently break over the cockpit sides soaking unwary crew, especially bad when a bucketful of cold ocean disturbs the skipper mid-snooze on the leeward cockpit seat. During our Atlantic passage we decided to do away with any racing snobbery and become “real cruisers” attaching our sail numbers (vinyl panels with GBT195T on them, a left over from several Round The Island races) between the top guardwire and the toerail like a curtain on either side of the cockpit. They proved to not be very robust but served the purpose for two weeks or so.
It has taken until now to find suitable affordable cloth to make proper dodgers with. Four yards of Sunbrella (the only canvas brand as far as yachties this side of the pond are concerned) in Ocean Blue almost matching the rest of Temptress’ canvas work (which is mostly the Spanish Sauleda brand ) was quickly acquired from Calypso Marine Canvas here in Chaguaramas. The Skipper carried the roll home over his shoulder on his bicycle, emulating the Indian delivery men in Dubai.
Buying the canvas was the easy bit. The height of the dodger plus a generous 6cm hem to take all the grommets that will enable the thing to be laced into place when complete was almost exactly half the width of the 60 inch fabric. And yes I was happily switching between imperial and metric throughout this project thanks to a junior school education just as Napoleon’s measuring standards hit UK maths lessons. How to split four yards of fabric down the middle? Next door but one happened to have new jib tracks delivered. Included in the packaging was a length of wood longer than my four yards…armed with this, my roll of fabric, some tailors chalk and a pair of scissors I headed off to the pool area being the largest, flattish surface close to our berth. Twenty minutes later I had two strips of canvas plus a small remainder which was instantly earmarked for my last “useful project”.
It would be too simple to have to hem a pair of straight forward rectangles; to match the pushpit (the metalwork surrounding Temptress stern) the aft end needed an approximate 45 degree slope from top to bottom. I didn’t bother measuring the angle exactly; I simply took the longer top and shorter bottom lengths to work out the triangle to cut off.
Dressmaking pins don’t work with marine canvas, or at least my ancient blunt ones don’t; I managed to pin one 5cm fold all round then had to resort to sailmakers basting tape (extra sticky narrow double sided tape) for the second 6cm wide fold. For most of the corners I kept the extra cloth to reinforce the corners since they’ll take a lot of the pounding from water rushing down the decks. However at the top aft corner with its acute angle there was too much fabric. Necessity is the mother of invention; I trimmed, folded and stuck the cloth like a piece of origami until it looked neat enough. The back of the scissors handle was useful for “pressing” in the folds as I worked. Finally I was ready to commit my hems to the sewing machine. Concentrating on the port dodger I sewed the top hem, checked the overall piece fit by holding the resulting fabric up along the guardwire and then sewed the rest.
To improve the finished look I machined all around the outer edge too. One sewing machine bobbin full of thread lasted twice round the dodger! All that pinning and hemming took two mornings last week. On Monday I pinned the first fold over on the starboard dodger before deciding there were better things to do on a hot humid morning and cycled with Kevin over to Budget Marine to purchase the large number of brass grommets the dodgers were going to need to lace them in place. Tuesday I took a day off to do the Taste of Trini tour (more on that in a later post) so it was Wednesday after noodling (more on that too later) that I set to once more in the cockpit with my sticky tape and a tape measure. The second was much quicker to hem that the first and was soon finished. By now my machining skills had much improved so the long lines of stitching are far less wobbly and the result almost professional in its finish. One very chuffed first mate glowed with pride when her skipper said he wouldn’t have had a clue how to even tackle the project. Working in the morning is preferably so inserting the several dozen brass grommets will have to wait until tomorrow.
Dinghy Anchor “Bucket”
 |
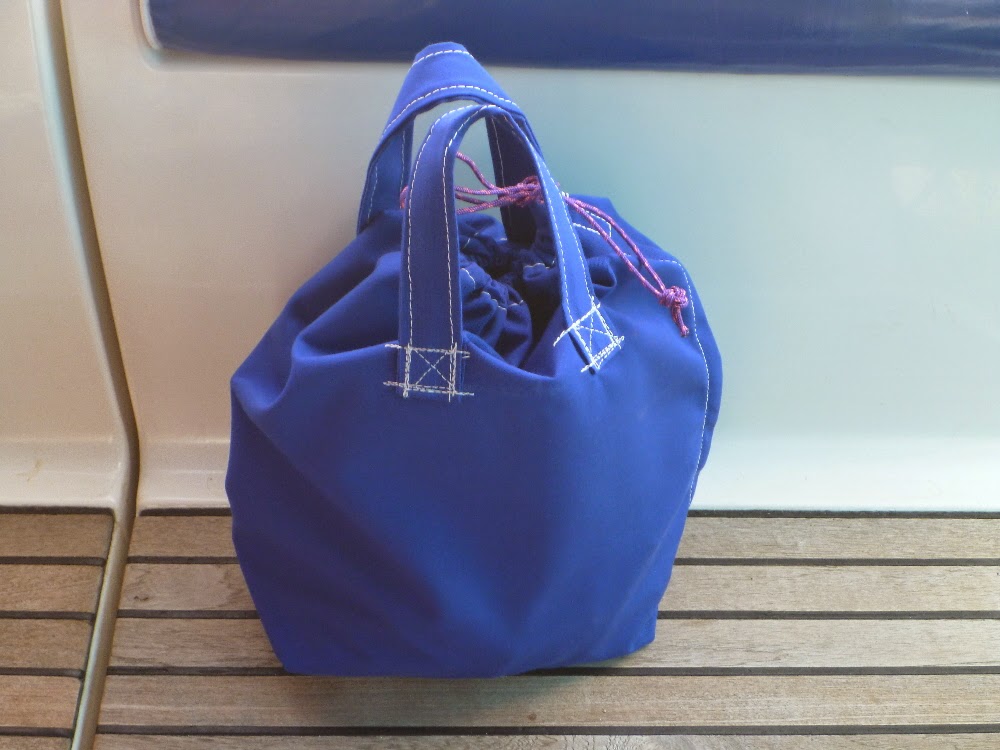
| Inside the dinghy “bucket” |
Meanwhile that scrape of fabric was already earmarked…. not exactly a bucket as it has a deliberate drainage in the bottom and a drawstring at the top but it is a strong circular canvas bag with carrying handles to hold both the dinghy anchor and the spare shear or cotter pins for the outboard engine. Over the last few months we’ve tried using long life shopping bags and other receptacles but living in the dinghy all day everyday they’ve either succumbed to the sun or filled up with rainwater or both.
Bag making is an easy task, one I learnt in Junior School from the amazing if forbidding Mrs Rickards who taught most of the Balliol School girls sewing and dressmaking over many years even after she officially retired from teaching. A rectangle of fabric folded in half, sew along the bottom and up the side, turn the top over to take a drawstring. If you want it to stand upright, ensure the bag is inside out, press the bottom seam towards the side to form a triangle and sew across at right angles to the bottom seam. Repeat at the opposite end of the bottom seam then turn the right way again. You can slip stitch down the triangles to the bottom seam if desired but I usually don’t bother. If you want handles, add them before starting to sew the seams as it is easier with a flat piece of cloth.
The idea of a self-draining base seemed a cool idea but proved difficult to actually construct. Sewing using the walking foot of the machine inside the bag was extremely fiddly, akin to sewing at the bottom of a narrow, dark hole. Although I had to unpick it several times and the final version isn’t that neat, I did eventually manage it. It might have been better to create the bag bottom separately then insert into the fabric tube of the sides but hindsight is a wonderful thing. Very pleased with the end result, now filled with the anchor, chain and warp as well as the little container of cotter pins and stowed in a cockpit locker as here in the marina bikes rather than our dinghy are the preferred mode of transport for getting round the boat yards.
 So after a busy couple of weeks my Sailrite sewing machine has truly earned its place on the boat and I am now planning other sewing projects that might improve life on board Temptress; cockpit cushions anyone?
